The Step-By-Step Guide To Publish Your App on Google Play Store
Imagine your business is possible to reach more than 2 billion people worldwide. It’s the number of Android users that Google announced in 2017. On the Google Play Store, a lot of potential can surge for your business by landing a mobile app there. Together with Google’s Academy, the nandbox team will guide you to the Google Play Store.
Within the coming lines, you will know how to upload your app—built on nandbox App Builder—on the Google Play Console. There, you can prepare your app to get published on the Google Play Store and manage it as well in the future. That’s after creating the Google Developer Account, as explained in a previous article.
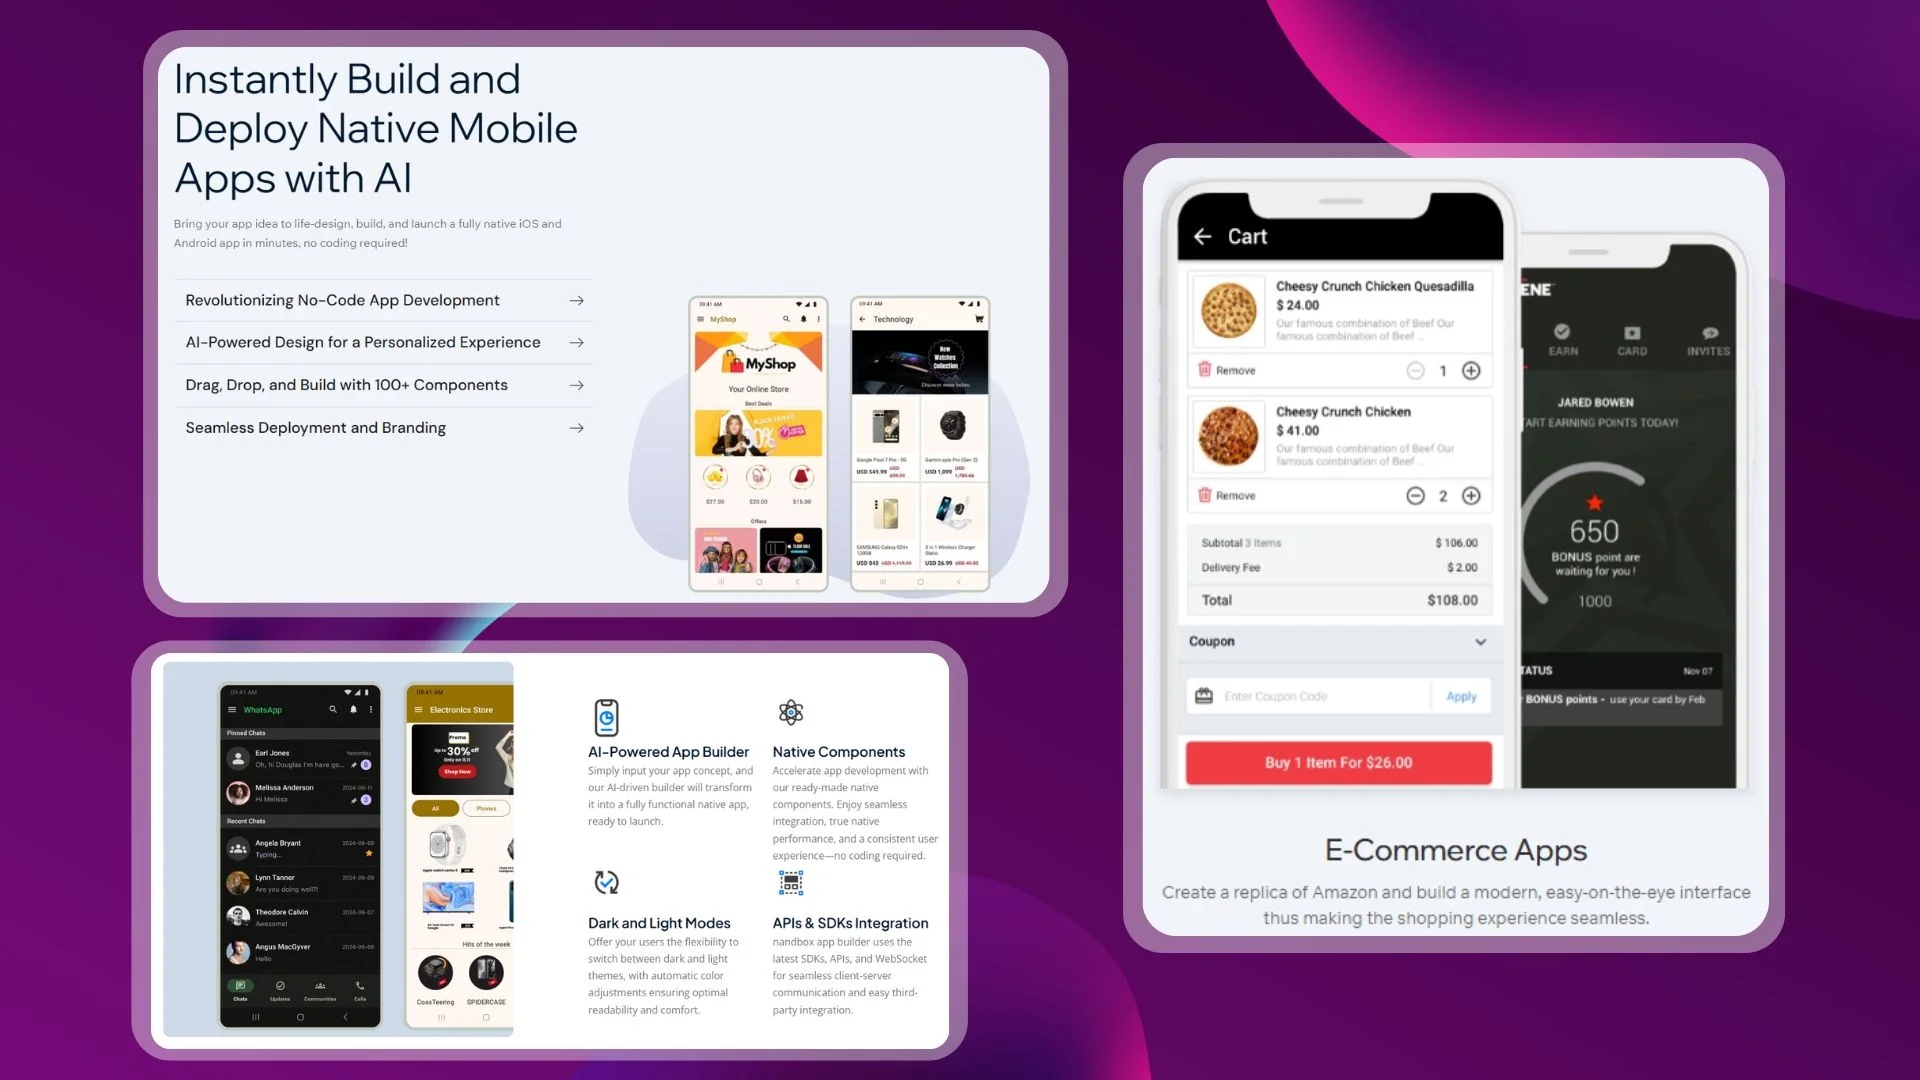
What is nandbox App Builder?
nandbox is a Canadian mobile app development platform, established in 2016. The SaaS platform has developed a no-code mobile app builder, which enables everyone to make mobile apps with best-in-class capabilities. In other cases, companies and individuals needed to screen and recruit technical personnel for app development tasks. But with nandbox App Builder, you can build personalized, native, hosted-ready mobile apps with simple drag-and-drop. Neither coding nor upfront costs are needed, but a 7-day free trial and lifetime app support are.
7 basic steps on Google Play Console to anchor your app on the Play Store
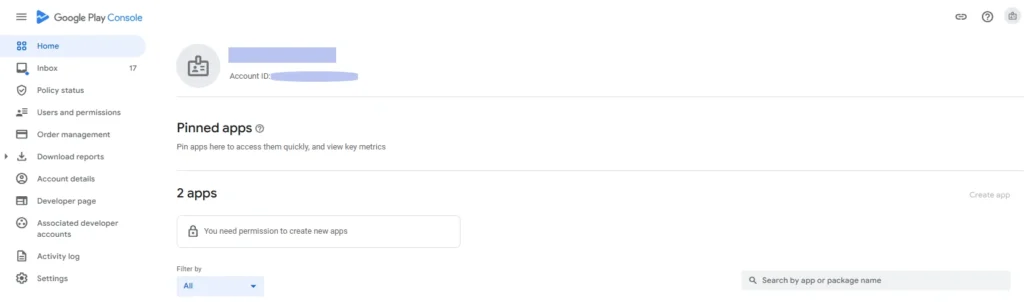
Step 1: Create a Google Developer Account
To submit your app to the Google Play Store, you’ll need a developer account. For a Google Play Developer account, you have to pay a one-time fee of $25. Navigate to your Google Play Console, then start creating an application.
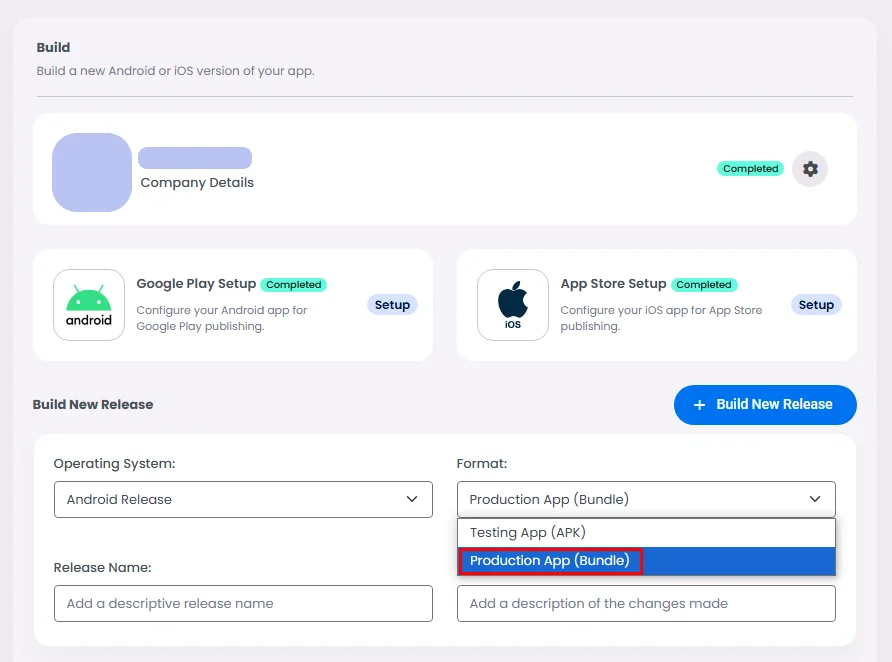
Step 2: Bundle generation and saving
After testing your app thoroughly by releasing an APK, generate the bundle of your app on the nandbox dashboard and save it to later upload on the Google Play Console.
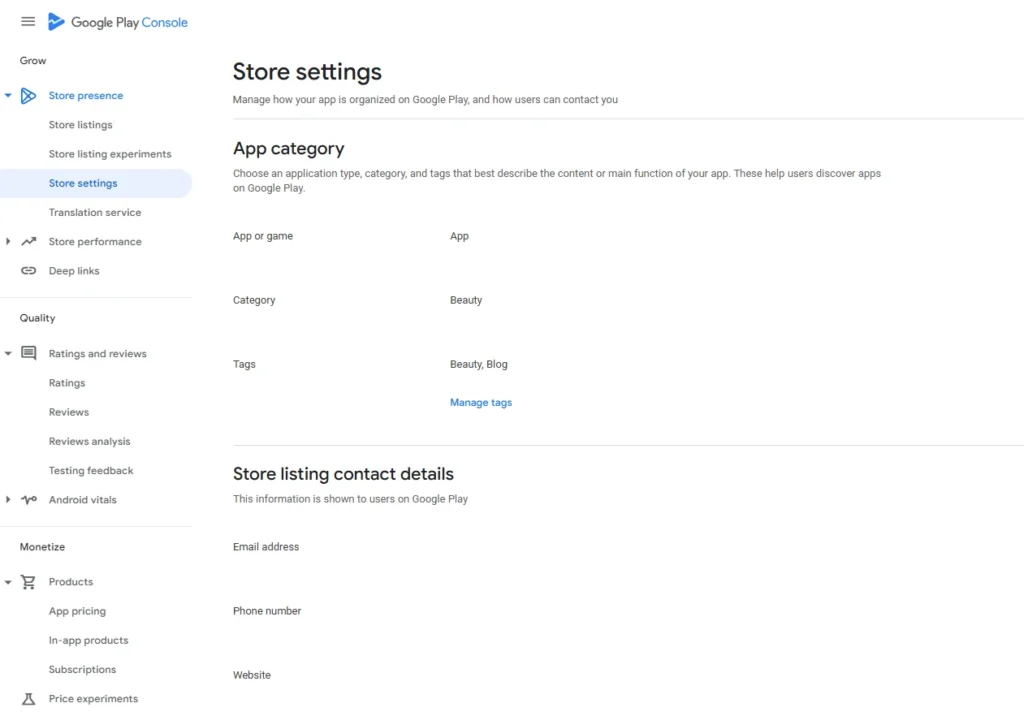
Step 3: Set your Store presence
Here is where you’ll put information about your app, like the title, description, category, contact information such as your company name, and more. You’ll also have to add an app icon and an accurate screenshot token from your app for store preview.
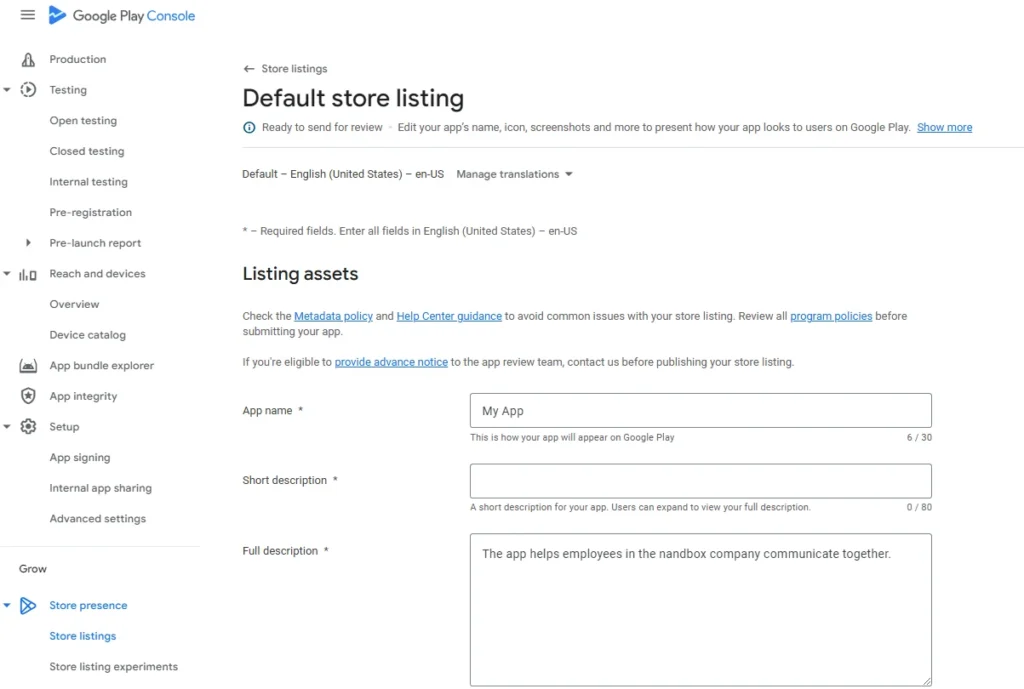
Check this Google article to get more information on how to do it.
Step 4: Set your App content
This step is the most important one in your publishing process. You need to complete some questionnaires to receive a content rating for your app. The content rating guarantees that your app complies with Google Play’s policies and is appropriate for the target audience.
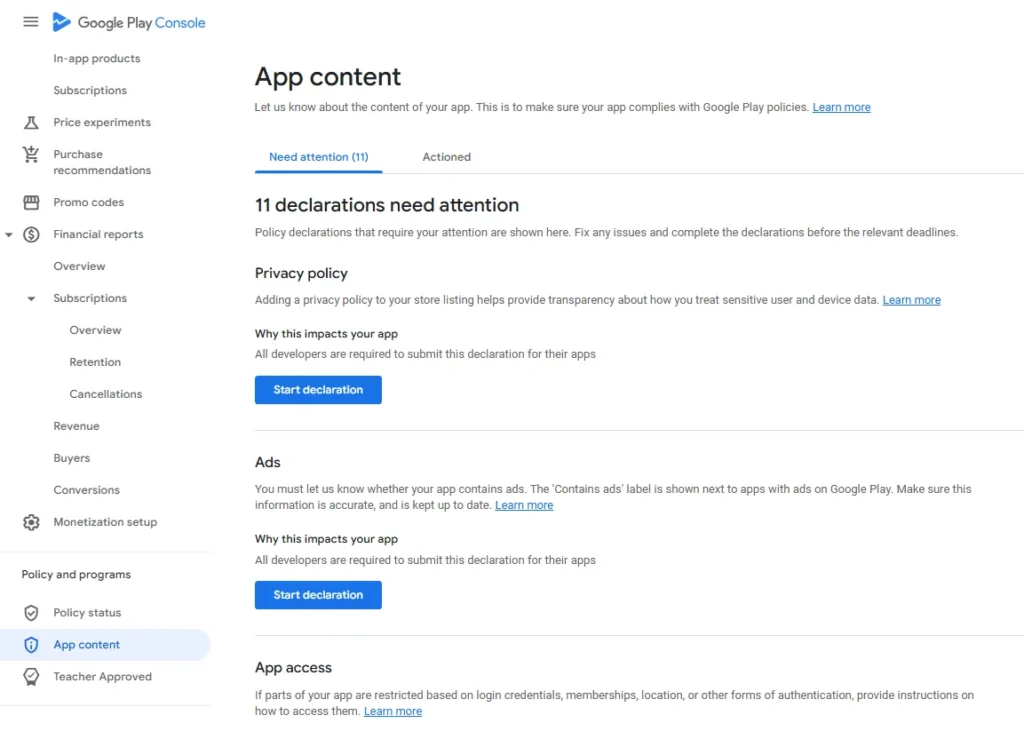
Check out the rating system of Google Play for more information.
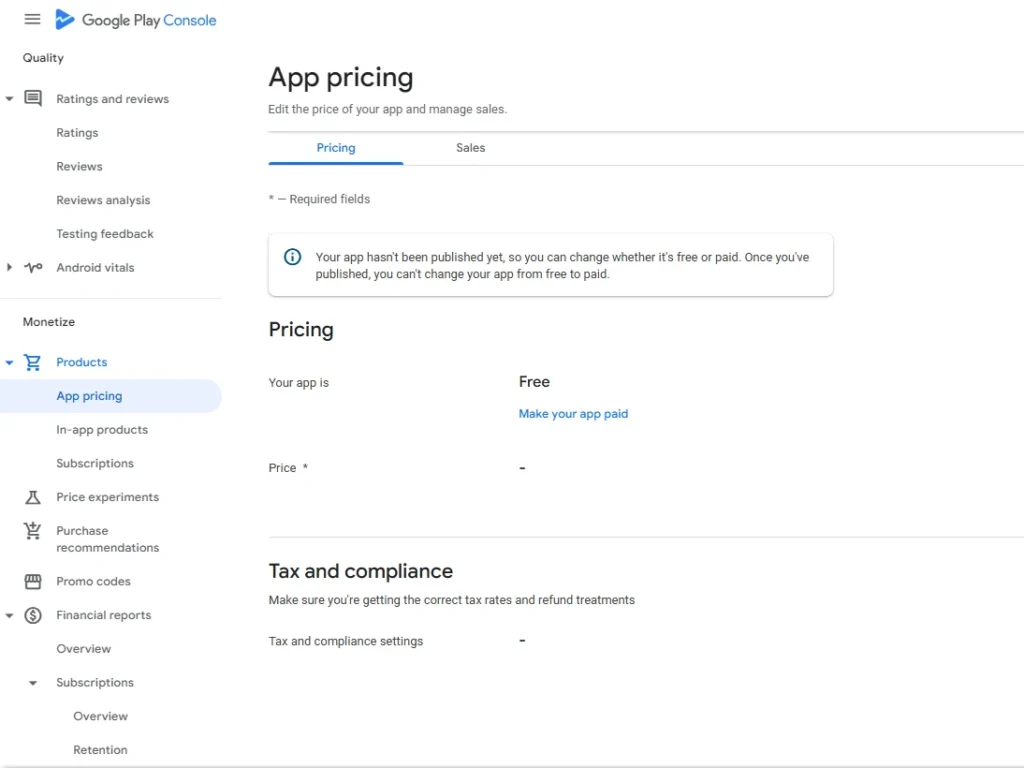
Step 5: Set your App pricing
Choose whether your app is a paid or free download. Set the price if you decide to charge for it. Then you have to choose if your app is a game or an app, as well as the regions in which it will be distributed.
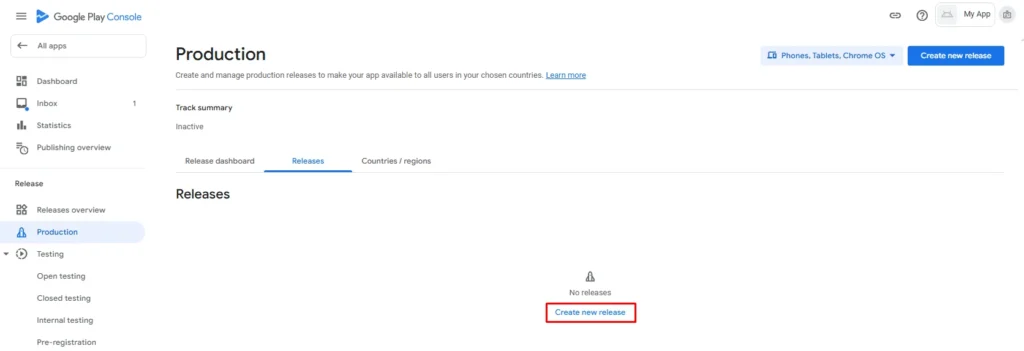
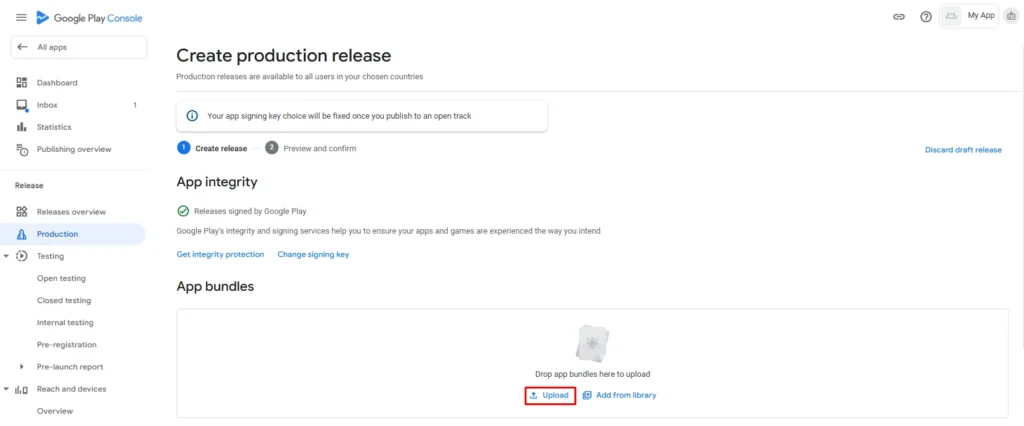
Step 6: Release your App Bundle
Here comes the role of the bundle you have released from the nandbox dashboard in the second step. On the Production page, create a new release and upload your app bundle with a release name.
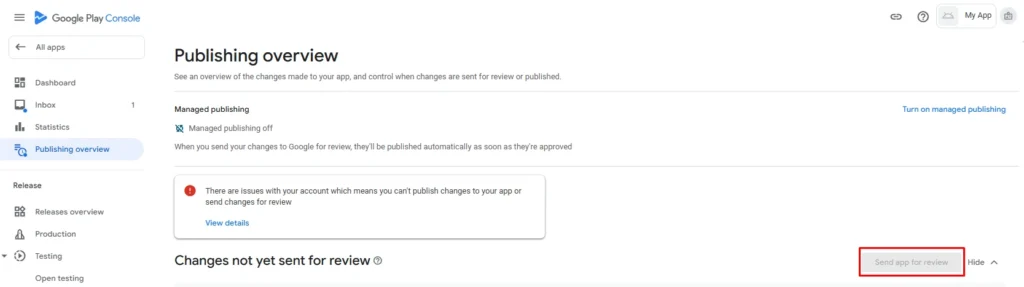
Step 7: Send your app for review
Google will review your app after submission to make sure it complies with Google Play policies. It will be published on the Play Store if it passes the review.
If Google reviews your app and finds some errors, you’ll be notified through your dashboard. When you work on editing them, make sure to send the changes you make for review manually from the publishing overview page.
Be certain to check all your policies continuously to track Google’s instructions and warnings in order to update them. Apart from publishing your app in the Play Store, consider creating and selling digital downloads as an alternative or supplementary strategy.
Check out this documentation to guide you through the process in detail.
Feel free to contact us at support@nandbox.com. We are glad to support you wherever you are.