How Can You Publish Your App On The App Store in 2023? 8 Tips For A Successful Publishing
Creating an app and getting it released on the Apple App Store requires many tedious steps. However, if you have the drive and determination, you just need the right information. Keep reading to learn how to get an app published on the app store as easily as possible.
How To Get An App Published On The App Store In 2022/2023?
Before you begin taking steps to publish an app on the Apple App Store, you’ll want to ensure that your app meets all of the requirements for uploading.
Apple is notorious for cracking down on apps that infringe on copyright laws. So, it’s a critically important factor in knowing how to get an app published on the app store. Here, you will need to be careful when publishing your app to make sure that it is all original. Another important factor is that you must have the rights to any media that you use in your app.
For example, if your app uses images of famous celebrities or images from third-party brands, you’ll need to make sure that you have the rights to use those images. Otherwise, your app may be rejected for publishing on the App Store.
8 Tips For A Successful App Publishing:
1. Enhance Your App Idea
Before you proceed, you should understand how to publish your app on the app store. You’ll want to make sure that the app idea that you publish on the App Store is one that you’re truly passionate about. If you are not truly interested in your app, it may be hard to convince customers to download it.
Additionally, you may want to make sure that your app idea isn’t too similar to other apps that are already on the App Store.
2. Create A Business Plan
Here, you are still in your preparation phase, and you’ll need to create a business plan for your app before you publish it to the App Store. This will help you stay on track with your goals and objectives for the app, as well as make sure that you stay within your budget.
3. Build The App
You can create the app yourself using a no-code app builder like nandbox, or you can hire a specialized app design company to do it for you.
In the agency case, you will need to ask them to make it optimized for iOS 16 and make sure that your app will be supported across all screens.
Frankly, this demands having a high budget. Because agencies and freelancers will cost you thousands, if not hundreds of thousands, of dollars, whereas nandbox’s app builder will cost you much less and allow you to have a fully customized app in less than a day.
4. Make Sure Your App Works Well
You might think that your app is perfect, but if it doesn’t work properly, no one will use it. As a matter of fact, you need to make sure that your app is unique and useful. If you have a boring app, no one will want to download it.
Make sure that your app is something that people would actually use. So make sure that everything works perfectly before submitting your app to the App Store. To install your app smoothly and quickly, you need to turn off two-step verification and turn on two-factor verification.
5. Use App Store Optimization
App Store Optimization (ASO) is a process in which app owners optimize their apps for search results in Apple’s iTunes App Store.
A) The first thing you need to do is create a unique name for your app. If you have a great idea for an app, make sure you use a simple and creative name. Don’t just copy someone else’s name. When designing your app’s logo there should be no transparency in it. If your logo has transparency, these transparent areas will be painted black by Apple during your upload.
B) Your app description should be short and sweet. People don’t read long descriptions, so keep yours under 100 words. Include screenshots if possible. Your app’s screenshots in the market must reflect the in-app and not belong to any Android device. (Even if you take the screenshot from an Android device, you have to crop the status bar)
C) Keywords are the search terms people type into the App Store to find the apps they’re searching for. Choose a few relevant keywords and add them to your app description. You should not leave the Description, Keywords and Support URL fields blank.
6. Add Social Sharing Buttons
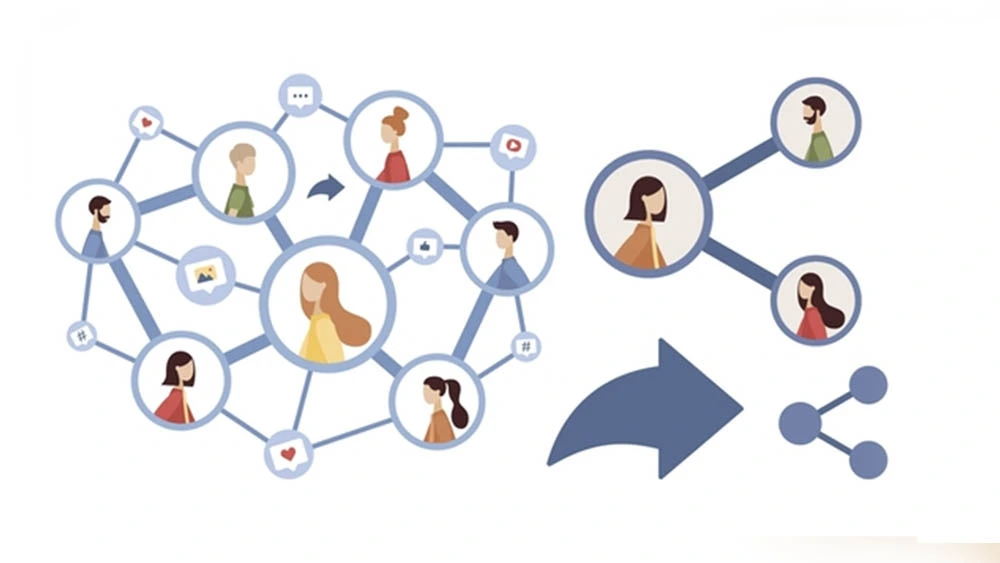
With social sharing buttons, your app’s content can be shared with friends on Facebook, Twitter, Pinterest, and other sites. These buttons help increase downloads and engagement. Your application content should not only consist of your website. The Apple App Store rejects apps that offer the same experience as Safari but do not offer added value.
7. Pre-Promote Your App
Let people wait for your app and support you in your startup phase. All you need is to get some reviews. You can ask friends and family to write reviews for your app.
Also, there are many ways to promote your app, including posting about it on your blog, tweeting about it, writing reviews, and using social networks.
8. Submit your app
Once you’ve created and tested your app, submit it to the App Store. You’ll receive an email once your app is reviewed. To do this, go to iTunes connect. Click “Submit New Apps” and then “iTunes Connect Developer.” From here, you can upload your app and fill out any information that you may need.
Things to Avoid and to Do Before Publishing Your App on the Apple Store
Because we care about your app’s success, here are a few points to take in consideration before publishing your app:
- You must fill in your contact information completely. People would want to reach you for specific bugs in your app or simple app support. That’s why your contact information should be fully completed.
- You must fill in the required fields in App Privacy and click Publish.
- If there is any section in your application that requires membership, you must create a demo account and specify the login information in the “Sign-in Required” field so that the Apple App Store can also review this section.
- If there will be in-app purchases in your application (product sales, subscription transactions, etc.), you must complete these transactions before your application is sent for review. Otherwise, in-app purchases in your application will not work. Here’s how to make an in-app purchase.
What is Apple’s In-App Purchase
Apple’s top-notch commerce and payment solution makes in-app purchases a consistent and secure experience, making it simple for users to manage their transactions and subscriptions over time. In-app purchases allow users to:
- Pay fast in 45 different currencies using the over 200 payment methods supported by their Apple ID, including Apple Pay, debit or credit cards, cash back, province methods, and more – all of which are securely recorded on file.
- Access their paid content and you can also restore purchases on new devices.
- Obtain assistance with content they’ve purchased or to get a refund, use Report a Problem.
- Utilize Family Sharing to share qualifying purchases.
- View the history of their purchases made with Apple products.
They can all be managed in one location.
Apple’s In-App Purchase Steps
Follow the following steps to create apple’s in-app purchase in your app:
- Select your app from the “My Apps” tab.
-
Click In-App Purchases from the sidebar under Features.
- click the add button (+) to add in-app purchases.
- Select the type: Consumable or Non-Consumable.
- Add both the reference name and product ID, then click “Create”
How Publishing Your App On Apple App Store Will Benefit Your Business?
One of the biggest advantages of uploading a new app to the Apple App Store is that it will increase your app’s discoverability or the likelihood that customers will come across your app and download it.
With a larger audience, your app will likely have increased downloads, in-app purchases, and even subscriptions. This will lead to an increase in revenue and can help take your business to the next level. Also, uploading an app to the Apple App Store may help you build a loyal customer base, who may come back to you for future purchases.
Customers who download apps are usually interested in the product or services that the app provides, which can lead to repeat business. Furthermore, you may also be able to attract potential investors with a high-quality app on the Apple App Store.
Investors may be more willing to fund a company with a highly successful app on their portfolio, as opposed to an app with little to no downloads.
In Conclusion
The process of getting an app published on the app store may appear straightforward. But it requires a high level of focus and commitment to your app business. Knowing how to get an app published on the app store is not just a piece of knowledge for your app-building phase in your business journey. But you should use it repetitively focusing on improving your app’s quality as long as your app is live.
Publishing an app on the Apple App Store can be a huge undertaking, but it’s also a great way to make money and potentially grow your business. Before you begin publishing an app, make sure that you follow our tips on how to get an app published on the app store to ensure that the process goes smoothly.
Try nandbox app builder for free and build your app now.

