What Do You Need to Know About TestFlight and iOS App Testing?
We all know that testing is the most crucial step in the app development process. It is when developers can identify where they went wrong and if there is any area for improvement that can enhance the user experience later on. However, what you didn’t know is that the testing process differs from one operating system or platform to another. Android app testing differs significantly from iOS app testing. Testing Android apps revolves around generating APKs, while iOS app testing depends on Test Flight. But, what exactly is iOS’s test flight? In this article, we will explain everything concerning test flight, the iOS testing platform, and the whole iOS app testing process.
What Is Test Flight?
It is a universal fact that the iOS development process is very complex. That is because the iOS application’s requirements and the guidelines developers need to follow are very precise. In addition, it also takes much time and effort, from designing and developing to testing. With many developers aiming to develop apps and many users asking for them, Apple focused on a very important aspect, which is testing, and offered iOS developers an efficient solution.
Apple created and unveiled Test Flight, a testing platform, in 2010. You’d also be surprised to learn that TestFlight was first made for both testing iOS and Android applications. However, it stopped supporting testing Android apps in 2014. TestFlight is available in the Apple App Store as a regular app. Developers will need to install it to be able to test their applications. It supports testing for all Apple devices, and developers can test up to 100 applications at once. Testing at TestFlight is divided into two categories: internal testing and external testing.
Internal testing
Internal testing is the process of testing your application among your development team and the whole organization. Or it can be conducted with a much smaller circle of users that doesn’t exceed 100. Through TestFlight, you can easily invite up to 200 users to test the application. You can also divide them into groups and assign a different build to each group to get feedback from more than one perspective.
External Testing
External testing is a broader version of internal testing. It is the process of beta testing your app on a large number of random users and anyone else you’d like. So that you can gather final feedback and make all the final modifications before releasing it on the Apple App Store. Through TestFlight, you can invite more than 10,000 users by sharing public links or sending invitations via email and inviting them to test your app. The same goes for external testing; you can also create test groups and assign them to users so that they can experience different versions of the apps with different elements.
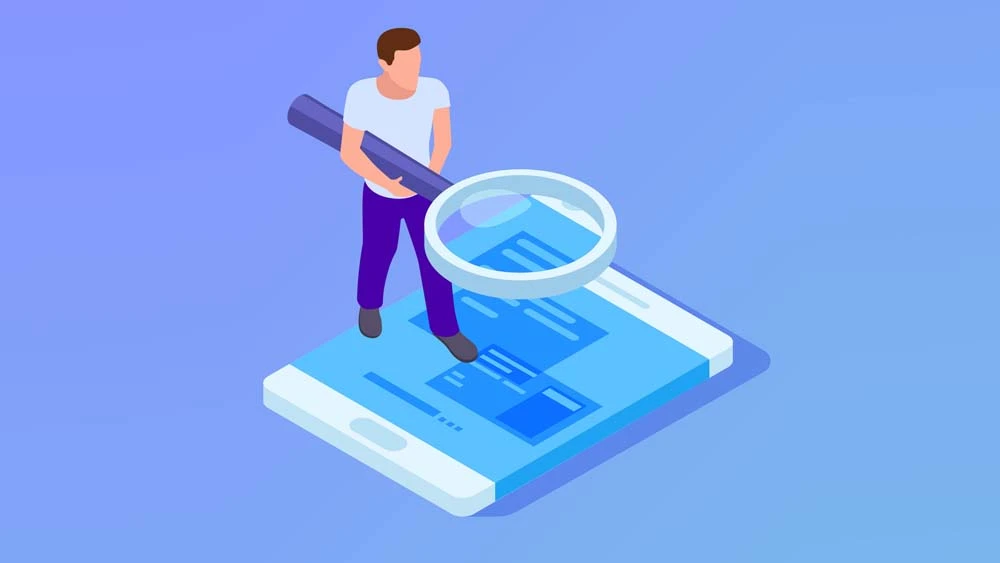
How to Test Your iOS App on Test Flight: Step-By-Step Guide
Now that you have a brief knowledge of what TestFlight is, we will now guide you through the steps of iOS app testing on this platform.
Here are the steps to test your iOS app using TestFlight:
1.) Create a new app in the App Store Connect
The first thing you need to do is join the Apple Developer Program, which will allow you to access the app store and connect later on. Keep in mind that the app developer program costs $99 per year as an enrollment fee. After enrolling, you will create an app in App Store Connect. Apple’s App Store Connect is an online tool for developers to manage their applications and control their App Store presence. Creating a new app in Apple Store Connect involves entering all your app’s information, in addition to a unique identifier that you need to generate from the app developer program.
2.) Upload a Build of Your App to App Store Connect and Submit It for Review
The next step after creating a new app in App Store Connect is to upload a build of your app and request a beta app review. Once you access your app in the App Store Connect, you will find a TestFlight tap where you will create your build. The app build is usually done using Xcode. Also, your app’s name, description, and several screenshots must be uploaded to App Store Connect throughout this procedure. Once, you are done with all these steps, you can submit your app for review. Apple will then check your app for compliance with its App Store Review Guidelines after you submit it for iOS app testing review. If your app makes it past the beta app review, you can now start your testing journey.
3.) Invite Testers to Your App
Once your app has been reviewed and approved for iOS app testing, you can invite testers, as we mentioned above. By conducting either internal or external testing, you can add users’ email addresses to the TestFlight section of your app in App Store Connect. The maximum number of testers for an iOS app is 10,000. By accessing a public link or receiving an email, users will be invited to install the TestFlight app on their iOS devices. But remember that for users to try out your app and test it, they will need to download TestFlight on their iOS devices.
4.) Monitor Users’ Feedback
In App Store Connect, you can keep an eye on users’ feedback as a developer. App Store Connect will provide you with issue reports and suggestions made by testers. These will give you valuable insight into how to enhance your app and identify areas for improvement.
5.) Submit Your App to the App Store
Now that you know your pitfalls and the feedback on your app and how it operates, you will make all the necessary alterations to reach the final version of your application. Once you are done with all the alterations, the iOS app testing phase is finally complete. You can now go on, submit your app to the Apple App Store, and provide users with a great and perfectly functioning app.
Create and Test Your iOS App with nandbox!
As nandbox truly understands how time- and effort-consuming developing and testing an iOS app is. The app-building platform has put in a lot of work to make it simple for anyone, not just developers. Anyone can develop, test, and release an iOS app. With nandbox, iOS app testing only takes a fraction of the time it normally would. That is because all you need to do is enter your app developer account information, invite nandbox as an app manager in your Apple developer account, and enter your bundle ID or identifier that you got earlier from the App Developer Program.
After that, the team at nandbox will take care of all the technical aspects required to test and publish your application; you will only need to invite your users to test it. Not only did it make app development more enjoyable, but nandbox successfully made iOS app testing even better and easier. Try the nandbox app builder now and build your app with an affordable cost, a streamlined process, and a one-of-a-kind experience.