Evaluating Costs: Custom App Development vs. No-Code Solutions
Developing an app is demanding because it can go wrong in many ways, and you can’t guarantee success. Still, it makes your business more accessible and could expand your customer base. Years ago, fully custom mobile apps were the only option, but now other options are becoming popular for non-programmers, like no-code app builders. You’re probably wondering if this new development is any good compared to fully custom development. This article compares and contrasts fully custom app development and no-code app builders concerning cost, development process, and functionality.
An Introduction to Fully Custom App Development
As the name suggests, to develop a custom app, you hire a dedicated team to build it from scratch with code. It is similar to going to a tailor to put together a dress; it offers you more customization options as long as the tailor listens to your needs. It comes down to communication and redesigns. The following subsections take you through each phase of the custom development process with an estimated cost. You will notice that prices can be very disparate because multiple factors affect the cost, like the app category, complexity level, and whether the app will run on Android, iOS, or both.
The Planning Phase

Timeframe: a few weeks
The first step is to have a rough idea of how you want your app to look and function. Business analytics will help you determine your target audience, design specifications, functional requirements, and business goals. In this phase, an important choice is whether to hire in-house developers or freelancers.
Hiring An In-House Team vs. Freelancers
Now that you’ve finalized the idea’s visualization, it’s time to hire the team to execute it. Employing an in-house team requires having a skilled recruiter with an eye for talent. It’s a long process that starts with writing job descriptions and continues until you onboard the new employees. Each team member will get a monthly salary suited to their skills, experience, and employment terms.
You can tell why some people prefer hiring freelancers who receive their payment per working hour. However, you can’t guarantee that the freelancers you hire are reliable and will deliver a high-quality final product. And they can potentially sell your confidential data to competitors.
Both options have pros and cons. We do recommend employing an in-house team for a long-term project or if you plan on developing multiple apps.
Design
Timeframe: 1-2 months
Cost: $2,500 to $15,000
You want the design process to result in creating an enticing app that performs called-for functions nimbly. It starts with drawing ideas related to the app’s niche. Your designers can cautiously get inspiration from the competition. The wireframing template design comes first in the design phase. Simply put, wireframing outlines the app’s screen structures and connects them. Then, designing the app requires a different skill set than programming it. As mentioned before, you can hire dedicated employees or freelancers.
Programming
Timeframe: +5 months Cost: $3,000 to $70,000
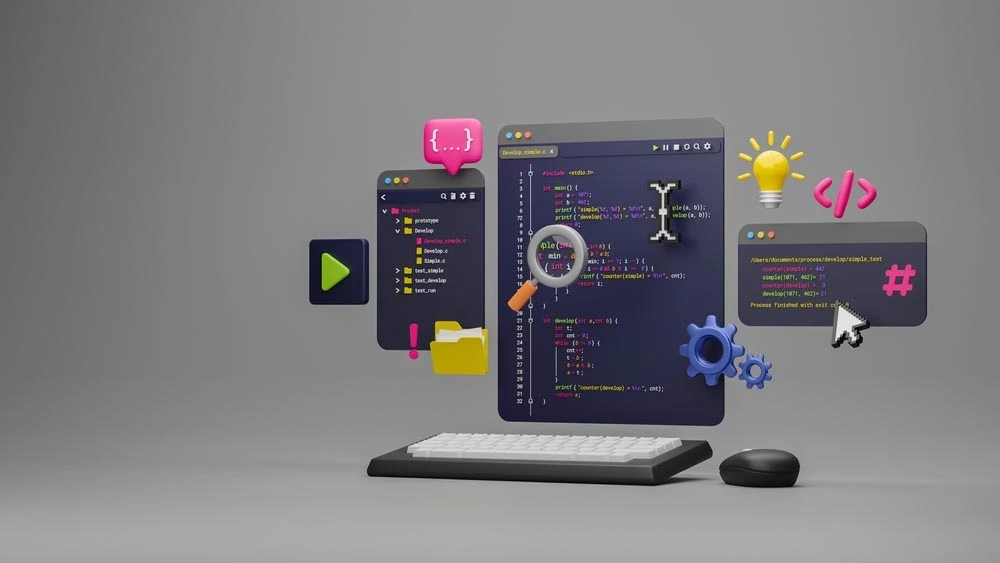
Programming can take quite a long time, even up to a year, because the developers have to write error-free code to minimize bugs. Two of the fundamental roles in the programming process are the front-end and the back-end developers.
The back-end developers do all the backstage work related to data storage, user management, data integration, push notifications, and more. On the other side of the curtain are the front-end developers who take care of the user flow, which is the steps users take to perform a specific function on the app. Each development phase takes at least five weeks to complete.
QA Testing
Timeframe: 3-5 weeks
Testing your app is the final phase before release, and it’s a non-expendable step. While a bug-free app is not 100% guaranteed, testing minimizes performance issues and bugs as much as possible. The process takes weeks and requires testing the beta version on different devices. It’s noteworthy that an Android app takes a longer testing time because of the overwhelming number of vendors and devices. Developers can test the application in various ways, including emulators, simulators, and real-time testing.
Publishing
Timeframe: 2-72 hours
Cost: Less than $1000
You should publish your app only if it’s 100% ready for the Apple App Store and the Google Play Store. They have precise guidelines for developers that we recommend you read thoroughly before publishing. Submitting the app for approval comes with a fee that differs between both stores. The Android app can take 2 to 24 hours to get approved, and the iOS app takes 24-48, but it takes much longer if it has missing documentation and inaccurate or incomplete metadata.
Maintenance
Cost: 20% of the development cost annually
If you abandon your app after publishing, users will do the same. Apps require regular testing and updates. Common reasons to update:
- Fix bugs and performance issues
- Update security
- Add new features or remove outdated ones
- Change an out-of-style interface
- Maintain customer loyalty
- Apply changes suggested by users
You can schedule regular updates or update as you go; we recommend 1-2 updates per month, not less or more. Frequent unnecessary updates could repulse users.
No-Code Apps and Why Start with Them
No-Code App Builders
A solution for non-programmers, everyone can use no-code app builders with nothing more than basic computer skills. Not only do no-code apps take minutes to hours to build, but they are also the cheapest development option. If they sound too good to be true, we decided to give you the pros and cons of using a no-code app builder compared to custom development.
Pros:
- They are cheaper: No-code app builders require a monthly or annual subscription, varied in price.
- They take less time, especially with most builders on the market offering video and text tutorials.
- They are easy to use: They don’t require any programming skills or experience. For example, the nandbox native no-code app builder lets you add features by dragging and dropping.
- Perfect for small business owners: They don’t need to hire developers or designers; they can do it themselves.
- Creators can make changes easily in the same way they built the app.
Cons:
- They are customizable but to a limited extent. Users can choose from preset templates and make changes to colors and themes, but they can’t make full design changes.
- Most app builders offer web-based or hybrid apps and not native ones. Read the detailed report about the difference. However, the nandbox app builder is a native app builder; the apps you make using the platform are made specifically for Android or iOS.
- Non-native app builders have limited functionalities and can build limited types of apps.
- Most have limited scalability because they allow a limited number of users. The reason why is that the apps made are web-based. And seeing that the nandbox app builder is a native app builder, app creators can scale up the number of users with a pricing plan suitable to their business needs.
We recommend starting with the no-coding approach before full custom app development, regardless of which app builder you choose. It’s the way to go if you don’t have a big budget or are unwilling to risk making a fully-custom app for your business. After all, it may or may not prove successful and useful. If the app grows and attracts more customers, you can explore the scale-up options of the app builder provider you selected.
Example of No-Code App Building: The nandbox App Builder
The first step is choosing a template. Each preset template is made for a specific category. For example, if you wish to make a messenger app, you will get around seven chatting app templates similar to the popular apps on the market, like WhatsApp and Telegram.
The next step is to make your app unique by making changes to the preset template. You can change color themes, rearrange features, and add the logo and app name.
After branding your app, you can add one of over 200 features, including a built-in messenger, a fully operational, customizable store, an events manager, a news feed, an interactive channel, and much more. You can make any of the following app categories with these features:
- Education
- Sports Club
- Booking & Events
- Communities
- E-Commerce
- Messenger
And you can also create a mix of more than one category, as you have freedom when adding features.
Next, you can configure these features to fit your business needs and requirements. Then, optimize the general settings and user management for full control over the application.
The final step is testing your app. You can generate a test APK version of your app from the build menu, for testing the app before publishing it. The publishing process is the same for both development approaches, although nandbox Inc. tries to make it easier for their clients with the store verification feature.
The nandbox native no-code builder blends the functionality of traditional development with the ease and convenience of no-code app builders. Try it now!

