You tap through dozens of apps every day, but have you ever considered what it takes to build an app yourself? You don’t need a computer science degree to see your idea come to life. While industry data suggests professional software development often costs thousands, learning how to make an app for iPhone for free is entirely possible if you have a Mac. If you prefer to start fast with a free app builder, you can prototype screens before committing to code.
Distinguishing between the creation phase and the distribution phase is vital. Apple provides a tool called Xcode—think of it as a digital workshop—at no cost. This means you can create an iPhone app prototype and run it on your own device without spending a dime. The annual fees you often hear about only apply later when you decide to submit your work to the public App Store.
Beginners often ask, “is coding required for iPhone app development?” The answer is yes, but the experience is far more visual than you might expect. Modern tools let you see changes instantly on your screen, much like editing a photo. With a simple Apple ID and a willingness to learn, you are ready to begin.
Summary
You can build and test an iPhone app for free on a Mac using Xcode and free provisioning; the $99 Apple Developer fee only applies when you publish to the App Store. Start with no-code tools for quick prototypes or learn Swift in Xcode for full control and scalability, guided by Apple’s Human Interface Guidelines. Use free design/prototyping resources (e.g., Figma) and open-source libraries, focus on a simple MVP, and test on a real device. When ready to launch publicly, join the Developer Program and consider simple monetization to recoup costs.
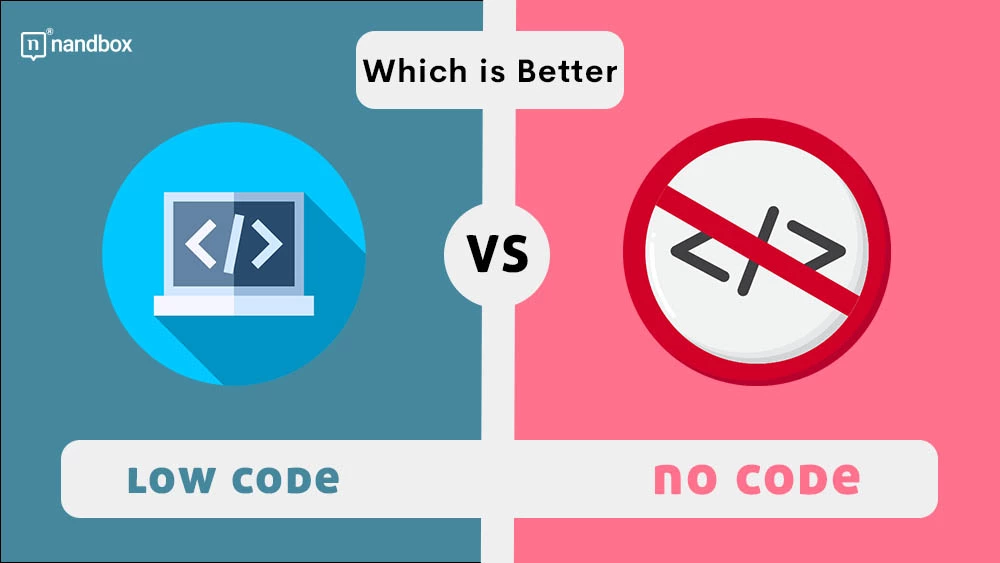
Code or No-Code? Choosing the Best Free Path for Your Idea
Your app idea likely fits into one of two categories: a standard display of information or a unique, interactive tool. If you want to build an iOS app without coding , modern drag-and-drop tools let you assemble pre-made parts like digital Legos. However, these platforms often hit a challenging ceiling when you try to customize specific behaviors or avoid monthly subscription fees later.
Choosing the right lane comes down to balancing speed against long-term freedom. While the limitations of free app building platforms often include restricted designs or mandatory watermarks, learning the official tools grants you total ownership. Consider these trade-offs:
- No-Code Builders: Great for prototypes and simple content feeds; fast setup, but often hides features behind a paywall.
- Native Code (Swift): Essential for unique ideas and career skills; steeper learning curve, but free to build and infinitely scalable.
If you are ready to own your work completely, let’s look at the industry-standard tool you can download right now.
Setting Up Your Digital Workshop: Getting Xcode Without a Subscription
To build your project without cost, you need Apple’s official software, Xcode. Think of Xcode as your completely stocked digital workshop—it contains the lumber (code), the blueprints (interface builder), and the power tools (simulators) all within a single window. While many aspiring creators worry about hidden costs, downloading this professional-grade program from the Mac App Store is entirely free and requires only a standard Apple ID, not the $99/year developer membership used for publishing later.

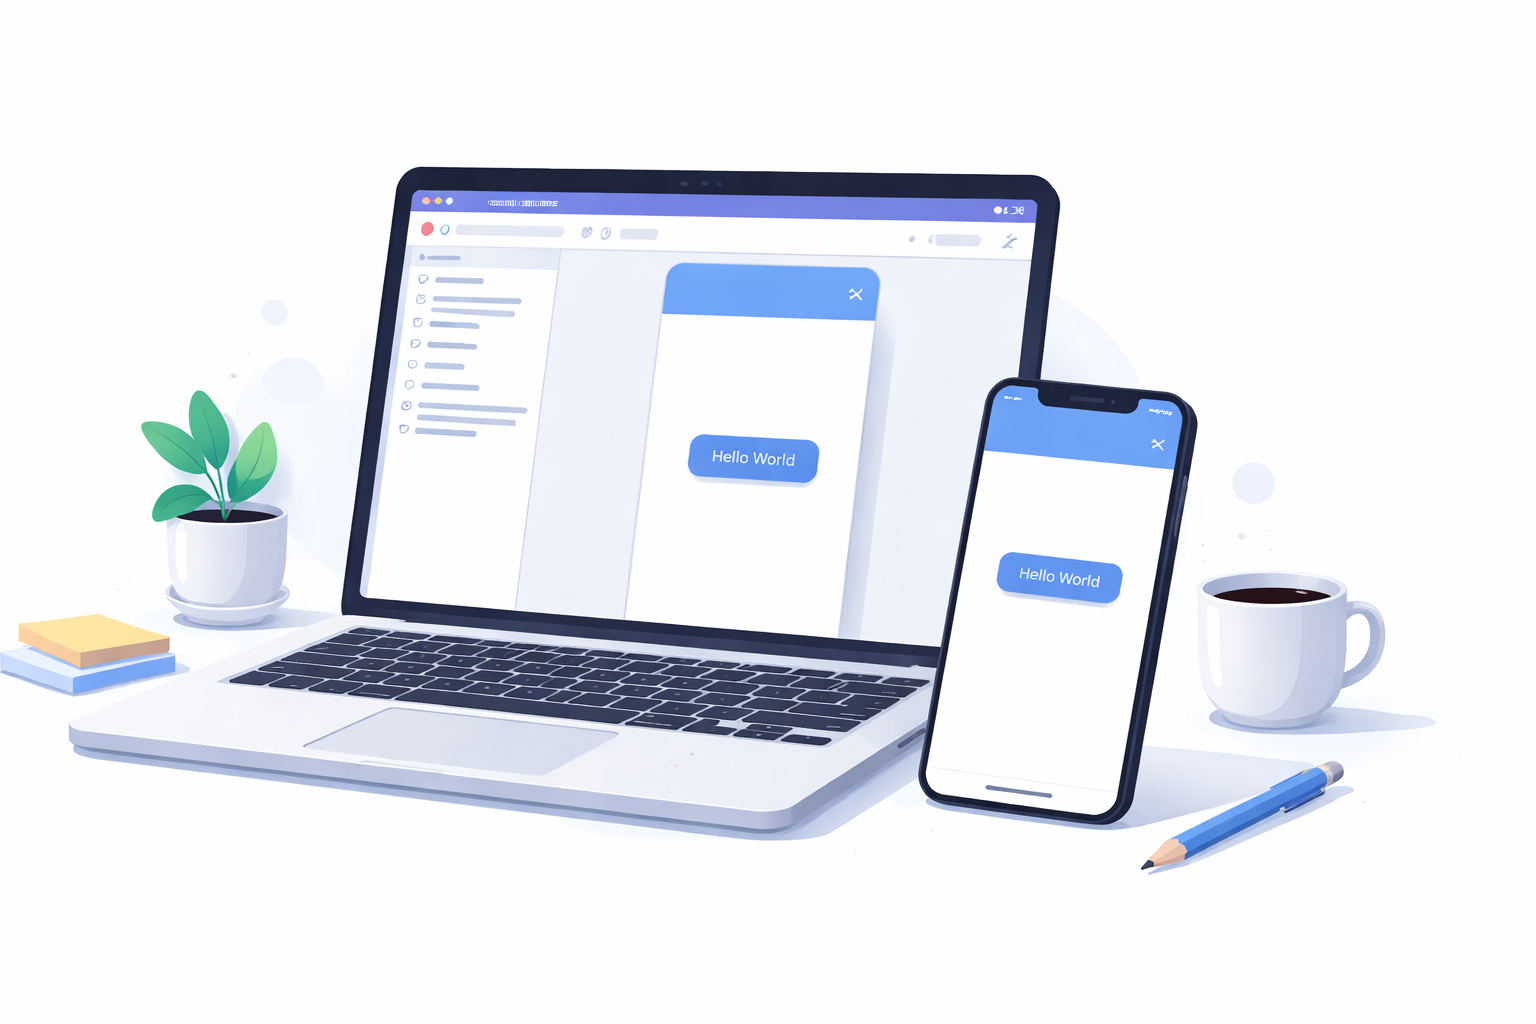
Once the installation finishes—which may take time given the large file size—launching the app reveals the environment where you will assemble your project. This software acts as an interactive guide, offering predictive suggestions to help you write correctly. Additionally, the built-in “Canvas” feature is arguably one of the best free UI design tools for mobile apps available, allowing you to drag, drop, and see visual changes instantly on a simulated screen. With your workshop fully equipped, we can now focus on what your app will actually look like.
Designing Your App’s Face for Free Using Apple’s Style Secrets
Before coding, you must decide what users will actually see on their screens. Apple provides the Apple Human Interface Guidelines for beginners, a vital cheat sheet for making your app feel professional immediately. Instead of guessing button placement, this resource explains “laws of the land,” such as ensuring clickable areas are at least 44×44 points so a thumb can tap them easily. Adhering to these standards prevents common errors like cluttered layouts or tiny text, ensuring your project feels like a native part of the iPhone ecosystem rather than a confusing website.
Visualizing your idea digitally before building saves significant technical frustration. You can use design platforms like nandbox’s starter tier to drag and drop shapes onto a virtual canvas directly in your browser. This approach lets you create a prototype for an iPhone app to test how screens flow together without worrying about logic yet. With a visual blueprint ready, you can move on to tools that turn those designs into working software using simple drag-and-drop mechanics.
Drag-and-Drop Magic: Top Free No-Code Builders for iPhone
For many first-time creators, the fastest route to a working product is not learning a new programming language but using visual platforms that handle much of the technical complexity. The best free no-code app builders for iPhone allow you to assemble screens like building blocks, significantly reducing the time needed to create a basic app prototype.
Tools such as nandbox no-code app builder demonstrate how modern tools are increasingly integrating AI into the app creation process. Instead of relying solely on drag-and-drop components, some AI-powered builders allow users to describe their app idea in a conversational interface and generate a working mobile application structure automatically. Platforms like nandbox illustrate this emerging approach by enabling creators to transform an idea into a functional native iOS and Android app through guided workflows and automation, reducing much of the traditional setup required for mobile development.
Another example is Glide, which allows beginners to transform a simple spreadsheet into a functional mobile interface within minutes, while Adalo offers more advanced visual logic tools that let you design app behavior without writing code. Bravo Studio focuses on turning Figma designs into interactive mobile applications, which makes it useful for designers who prefer starting with visual prototypes.
These tools are especially helpful when building a Minimum Viable Product (MVP), a simplified version of an app designed to validate whether an idea has real user demand. By quickly assembling screens, testing navigation, and gathering feedback, creators can evaluate their concept before investing time in deeper development.
Speaking Swift: Writing Your First Instruction for Your iPhone
While visual builders are excellent for testing ideas, total creative control requires stepping into the Xcode workshop. Inside this digital workspace, you communicate using Swift programming language fundamentals. Think of Swift less like complex math and more like a recipe; you are writing a specific set of steps that the iPhone follows exactly to put your idea on the screen.
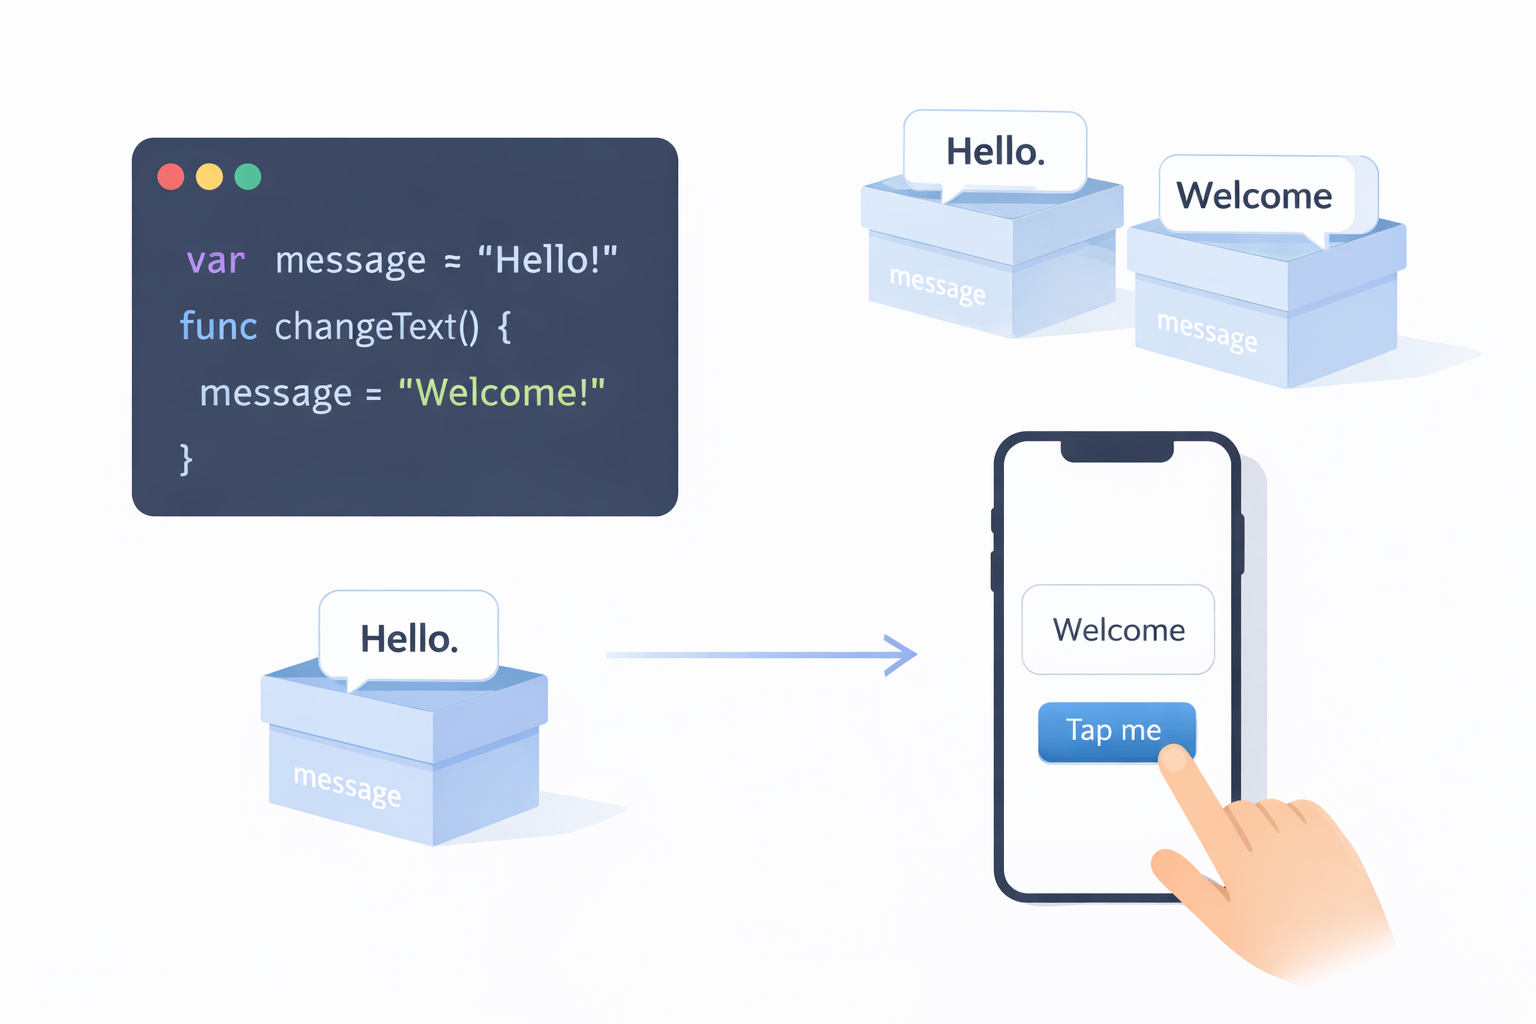
Every app needs a memory to function, whether it’s tracking a score or remembering a name. In coding, we handle this using a Variable, which works like a labeled storage box. If you type var message = “Hello!”, you have essentially created a box labeled “message” and placed text inside it. This simple concept allows your app to hold onto information and update it later, which is the foundation of interactivity.
Static text is boring, so we use Functions to make things happen. A function is a “Do This” command triggered when someone taps a screen. In this tutorial, you will combine these concepts by creating a button that swaps the text in your variable box from “Hello” to “Welcome” when clicked. Now that you have written logic that actually reacts to a user, you are ready to move your creation off the computer screen.
The Moment of Truth: Running Your App on a Real iPhone for $0
Seeing your code run on a Mac is satisfying, but holding your creation in your hand changes everything. While the $99 Developer fee is mandatory for public sales, you can use “Free Provisioning” to install apps on your own device immediately. This process acts like a digital guest pass, letting you bypass the paywall for personal testing. It is a vital step because a mouse click never feels the same as a thumb tap.
To bridge the gap between computer and pocket, follow this workflow:
- Connect: Plug your iPhone into your Mac via USB.
- Target: Switch the Xcode destination from “Simulator” to your iPhone.
- Authorize: In iPhone Settings > General > VPN & Device Management, “Trust” your profile.
- Launch: Click “Play” in Xcode to install.
Using actual hardware offers one of the most effective low-cost ways to test iOS apps on real devices. If the app won’t open, double-check that “Trust” setting; it is a common security hurdle. With the app now in your pocket, the only remaining barrier is getting it onto everyone else’s.
Navigating the App Store: When You Finally Need to Pay (And How to Delay It)
Building your app costs nothing, but sharing it with the world requires a paid ticket. The Apple Developer Program acts as a tollbooth for the App Store, charging $99 annually to ensure safety and quality. While there is no valid method for how to publish on App Store without a developer fee for a public audience, you should strictly delay this payment until your work is polished. To keep development costs at zero during this phase, utilize open-source mobile app frameworks. These free code libraries function like pre-built furniture, letting you add complex features—like professional charts or animations—without spending a dime on premium tools.
Once you commit to the membership, having a repayment plan eliminates financial anxiety. Simple monetization strategies, such as a digital “tip jar” or modest banner ads, can often recoup your annual investment with a surprisingly small user base. You do not need a complex business empire to break even; you only need a finished product that solves a real problem. With the financial roadmap defined, it is time to organize your schedule and begin the actual construction.
Your 24-Hour Launch Plan: Taking the First Real Step Today
You have transformed from a passive user into an active creator. By identifying your concept and downloading the necessary tools, you have unlocked the ability to build iPhone apps without a budget, dismantling the myth that you need a venture capital budget to begin. The exact same digital workshop used by professional developers is now sitting in your dock, meaning your only true investment from this point forward is curiosity and time.
To solidify this knowledge, spend your next 24 hours focusing on a “Minimum Viable Product”—aim for a single screen with one functioning button rather than a complex system. Start by sketching your layout on paper, then use those drawings to create a prototype within Xcode. If you encounter errors, remember that free community forums are filled with answers for beginners. You do not need to build the entire future today; you just need to celebrate your first working button.
Q&A
Do I need to pay $99 to build and test an iPhone app?
No. You can build and run apps for free on a Mac using Xcode, and install them on your own iPhone with “Free Provisioning.” The $99/year Apple Developer Program fee is only required when you want to publish publicly on the App Store.
Can I make an iPhone app without coding?
Yes, no-code builders like nandbox, Glide, Adalo, and Bravo Studio let you assemble screens and logic visually, which is great for quick prototypes and simple apps. However, free tiers often have limits (like watermarks or restricted features). For full control, customization, and scalability, learning native Swift in Xcode is the better long-term path.
How do I run my app on a real iPhone for $0?
Use Xcode’s free provisioning and follow this flow:
- Connect your iPhone to your Mac via USB.
- In Xcode, change the run destination from “Simulator” to your iPhone.
- On the iPhone, go to Settings > General > VPN & Device Management and “Trust” your profile.
- Click “Play” in Xcode to install. If it won’t open, recheck the Trust setting—this is a common hurdle.
When should I join the Apple Developer Program, and how can I cover the cost?
Wait until your app is polished and ready for public release. There’s no free way to publish to the App Store for the public, so delay the $99 fee while you build using open-source libraries and free tools. After joining, simple monetization (like a tip jar or modest ads) can often recoup the annual cost with a small user base.