If you’re an iOS developer looking to implement auto-renewable subscriptions in your app, you’ve come to the right place. This auto-renewable subscription iOS tutorial guide will walk you through the process step-by-step, from setting up your app in the App Store Connect to handling subscription renewals and cancellations. Get ready to take your app to the next level with this essential guide.
Accessibility to content, services, or special features in your app is offered through auto-renewable subscriptions. Until the user decides to cancel them, they renew automatically at the end of their time frame. Users of iOS, iPadOS, macOS, watchOS, and TVOS can subscribe.
Great subscription apps continue to improve the app experience and offer ongoing value to justify the recurring fee. Therefore, If you’re thinking about using the subscription model. You have to prepare to update your app frequently with new features or more content.
Apps that offer new game levels, serial material, software as a service, or cloud assistance are just a few examples of the many sorts of apps that might benefit from subscriptions. However, Apps that provide regular, substantive updates or access to libraries or content collections are examples of other subscriptions that are appropriate. Subscriptions, a kind of in-app purchase, can be made available together with other in-app purchase types.
Understanding iOS’s Auto-Renewable Subscriptions

Auto-renewable subscriptions are a popular way for app developers to monetize their products. With auto-renewable subscriptions, users are charged automatically on a recurring basis (usually monthly or yearly) until they cancel the subscription. This model provides a steady stream of revenue for developers and allows users to access premium content or features on an ongoing basis. But how do auto-renewable subscriptions work, and what do you need to know to implement them in your app? Let’s dive in.
Setting Up Your App for Auto-Renewable Subscriptions
Before you can start offering auto-renewable subscriptions in your app, you need to set up your app in the App Store Connect portal. This involves creating a new app ID, setting up a new app in App Store Connect, and configuring the app’s in-app purchase settings. You’ll also need to create the subscription products themselves, which involves setting the pricing, duration, and other details for each subscription tier. Once your app is set up and your subscription products are created, you can start integrating the subscription functionality into your app.
Creating Subscription Groups and Products
In order to offer auto-renewable subscriptions on iOS, you need to create subscription groups and products within your app. A subscription group is a collection of subscription products. These products are related to each other, such as different tiers of a monthly subscription. Within each subscription group, you can create multiple subscription products with different durations and pricing options. For example, you might offer a monthly subscription for $9.99, a quarterly subscription for $24.99, and an annual subscription for $89.99. Once you have created your subscription groups and products, you can start integrating them into your app’s user interface and logic.
Auto-Renewable Subscriptions on iOS: Family Sharing Option
With Family Sharing, a subscriber can provide up to five family members access to an auto-renewable subscription account. Additionally, they can do that across all of their Apple devices. The “Family Sharing” feature can help you draw in new subscribers, encourage paid subscriptions, boost engagement, and enhance retention with a simple, intuitive user experience. Also, in App Store Connect, you can turn on family sharing for your membership. Please be aware that this cannot be reversed.
Provide the correct level of access to users and their family members after confirming subscription access using purchase validation. This depends on the subscriber’s subscription sharing preferences. In addition to whether the purchase was made before or after the subscriber enabled Family Sharing in App Store Connect, a subscription may or may not be shared by default with the subscriber’s family. Moreover, Apple sends push notifications to subscribers whose settings do not automatically share the subscription to let them know that it can be shared with their family.
Handling Subscription Purchases and Renewals
Once you have set up your auto-renewable subscriptions on iOS, it’s important to understand how to handle subscription purchases and renewals. When a user purchases a subscription, you will receive a notification from Apple’s servers with information about the purchase. You can then use this information to grant the user access to the subscription content within your app. It’s also important to handle subscription renewals properly, as users may choose to cancel their subscription or their payment method may expire. By implementing proper handling of subscription purchases and renewals, you can ensure a smooth and seamless experience for your users.
Managing Subscriber Data and Analytics
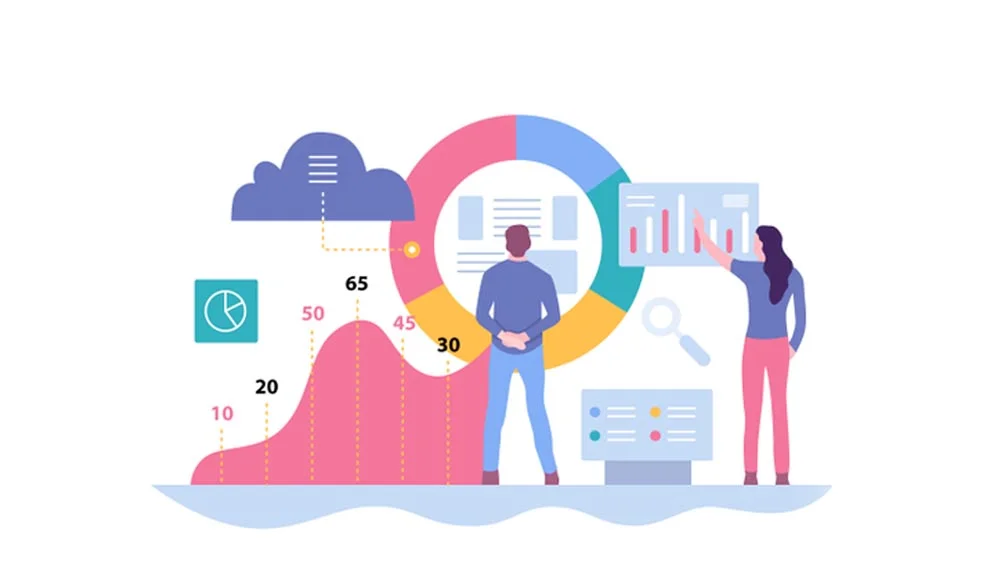
One of the key benefits of implementing auto-renewable subscriptions on iOS is the ability to track and analyze subscriber data. Furthermore, this can include information such as the number of subscribers, subscription revenue, and churn rate. By analyzing this data, you can gain insights into the performance of your subscription offering and make informed decisions about pricing, content, and marketing strategies. It’s important to use a reliable analytics tool to track this data, such as App Annie or Mixpanel, and regularly review and analyze the results to optimize your subscription offering.
Subscription App Needs and Must-Have Features
The difficulty for developers has greatly increased with the advent of auto-renewable memberships and subscription offers. There are numerous details you must take into account. Most likely, a back-end will be required for an app with a subscription to:
- Verify in-app receipts for purchases.
- Keep tabs on the status of each user’s subscription.
- Determine a user’s suitability for a promotion.
- Create a signature for an offer of subscription.
- Notify current users about a subscription offer via notifications.
- If a problem with the user’s bill occurs, the app can send them a message.
- Monitor permission for price increases and upgrades.
Steps for Restoring a Subscription Upon Expiration
Here is a list of steps to follow when you want to restore your subscription if it has expired:
- Join a monthly membership plan.
- Exit or close your subscription app after waiting for a duration that lasts from 35 to 40 minutes.
- The app should restart in the unsubscribed state after being launched.
- Select “Restore Purchases” from the menu.
- There should be no current “active subscription” to be seen, and the user should be informed of this.
Upgrades, Downgrades, and Crossgrades: A Quick Overview
As of iOS 14, the Settings app’s sandbox subscription management panel is accessible. You’ll need to expose buttons or use another method within the app to test purchases that result in upgrades, downgrades, and crossgrades if you’re testing older iOS versions. Here’s what to do exactly:
- Join a monthly subscription plan.
- Close your app and then restart it.
- Select your current subscription by going to the Settings app > App Store > Your Sandbox Account > Manage > Subscriptions.
- By choosing a different product from the available alternatives, you can modify your subscription.
- Wait five to ten minutes if you downgraded your subscription.
- Start your app.
- The user ought to have a subscription to the new item.
Final Thoughts on Our Auto-Renewable Subscription iOS Tutorial Guide
To remind your customers of your worth, we think it is crucial to consistently communicate with them. In an app subscription model where reducing churn is essential for generating predictable business development, this becomes vital. In nandbox, we only aim to have you on board with us to empower your own business with us. Additionally, this is possible because you can create a native, no-code app to empower your business. A no-code solution like ours helps enhance your chances of not getting tired through the app development process.
To make it easier for you, nandbox depends on a simple drag-and-drop interface. This allows you to add your features and create your app by simply dragging and dropping whatever you want to add into your app’s building window. This guarantees that you won’t need a team of developers in order to create an app from scratch. Moreover, you will be the only person in control of your own app-building process. No one will tell you what to do with your branding or any other visionary alterations.
We also provide you with a documentation section that gives you an overview of every single detail about all of our app builder’s modules and features. You can access it, follow its navigation steps, and check out all the tips it offers for you to apply to your industry-related app. Sign up now for nandbox’s native no-code app builder, and develop the app that your business deserves for a fraction of the cost. Upon signing up, you will activate your 14-day free trial. This trial was created to help you familiarize yourself with the app builder’s templates, features, modules, and branding options.