Follow the step-by-step guide to integrate your app with Zapier:
Zapier is an online automation tool that connects with more than 3000 apps such as Gmail, Slack, Mailchimp, and much more. By connecting apps, you can automate repetitive tasks by setting triggers and actions that follow, nandbox integration with Zapier will allow Zapier’s bot to detect any post published on your channel and automatically publish it on any app you choose:
- Zapier’s bot can tweet it on Twitter.
- Send it as a message to a Slack group.
- Send it as an email to your Gmail.
- Publish it as a post on your Facebook.
- There are many more apps that you can choose from!
Follow the step-by-step guide:
1.) Create an account on Zapier.
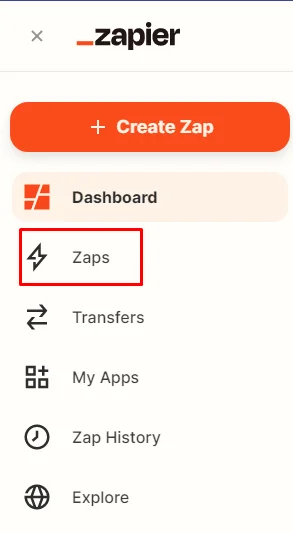
2.) From the side menu, click on Zaps.
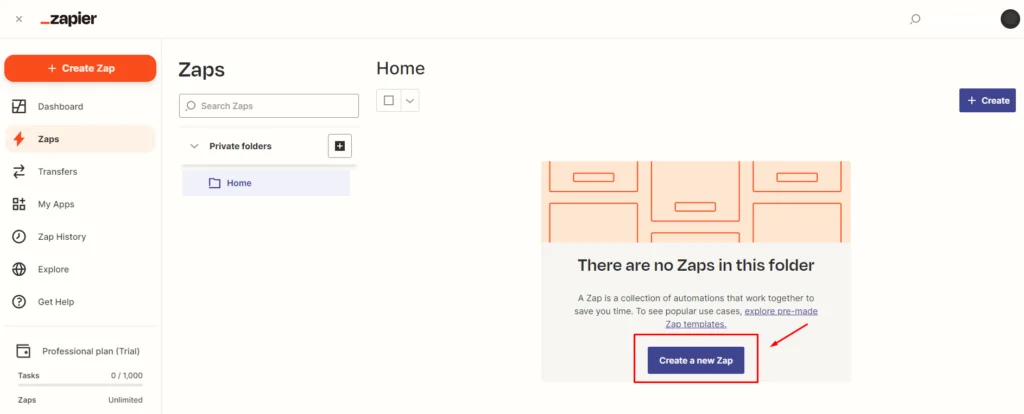
3.) Click on Make a New Zap.
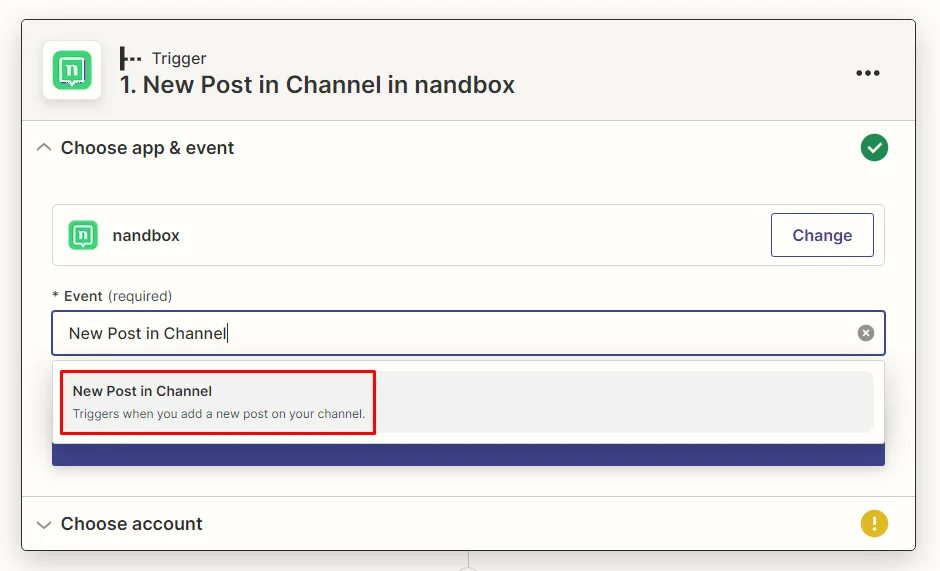
4.) Search for nandbox.
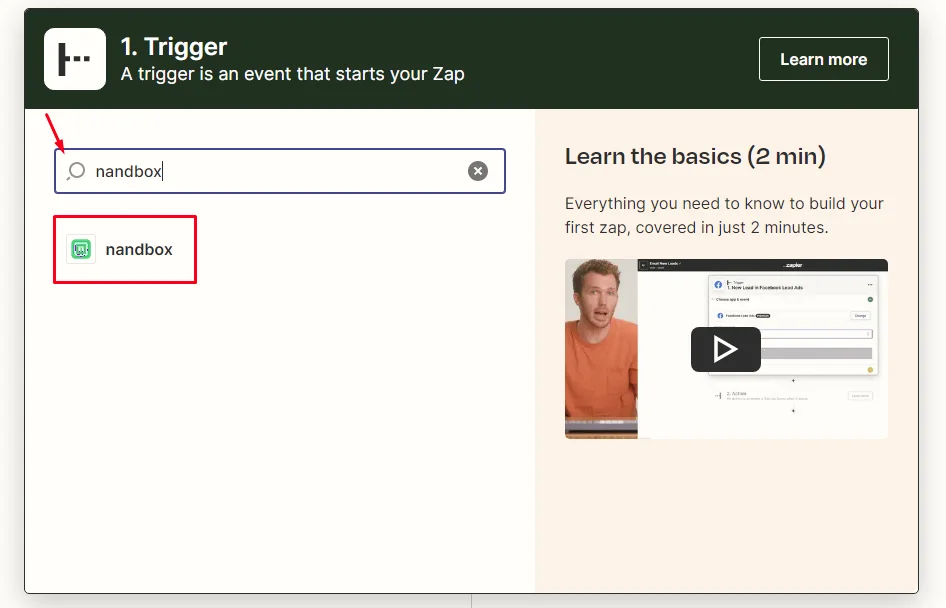
5.) Choose the trigger: New Post in Channel.
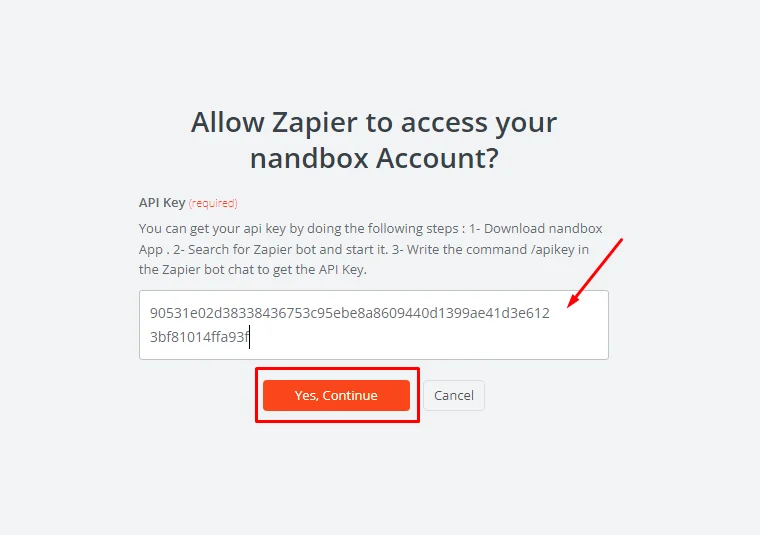
6.) Connect a new account by clicking Sign in.
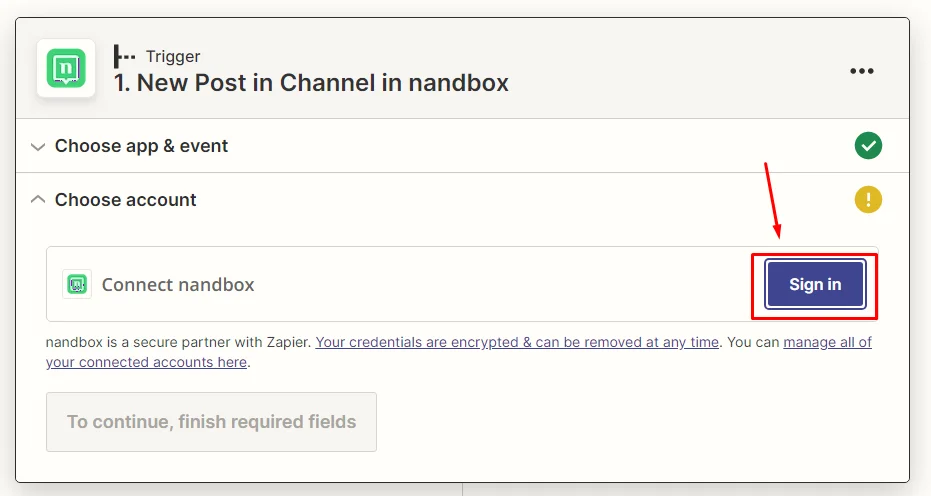
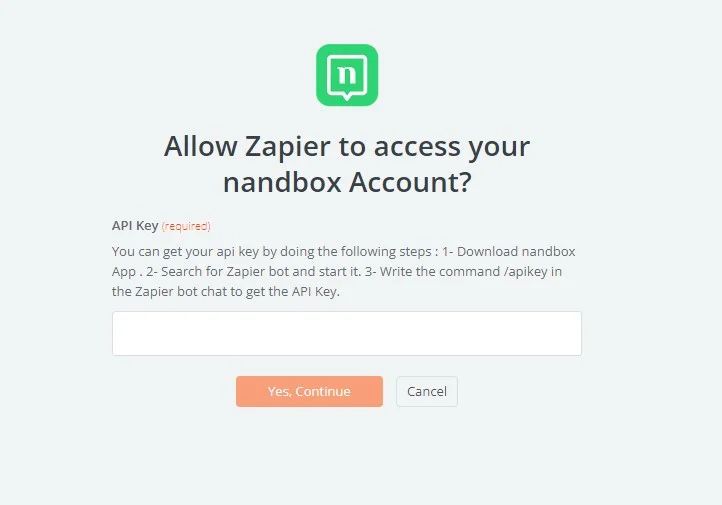
You will be asked for an API key.
Please note that you can follow the same steps mentioned above to integrate your app or your account on nandbox messenger.
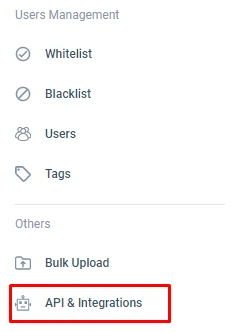
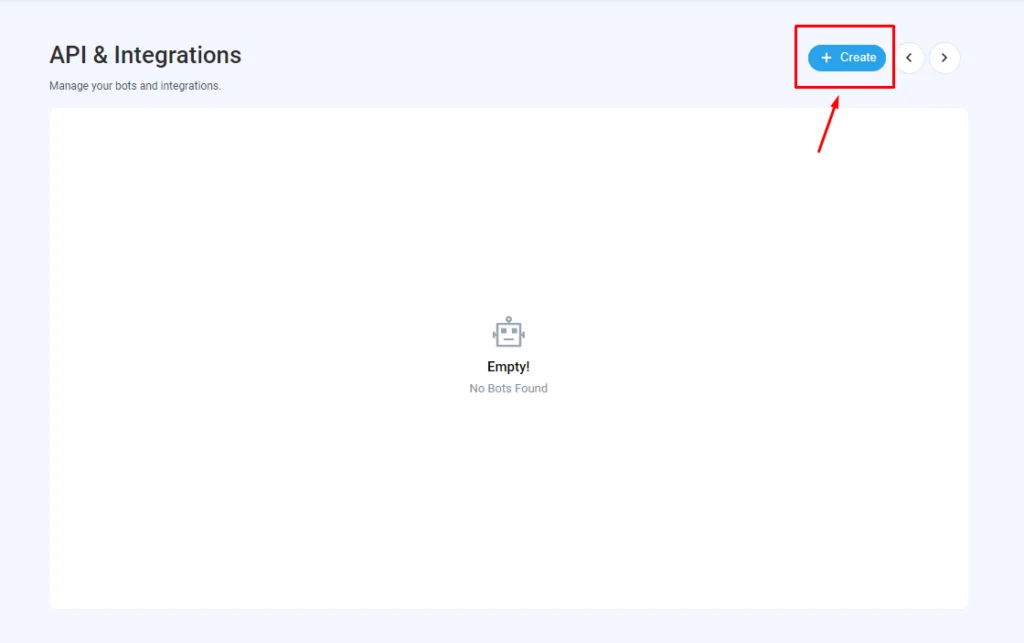
7.) To get the API key, sign in to your nandbox app and open API & Integrations.
8.) Click ‘Create New’.
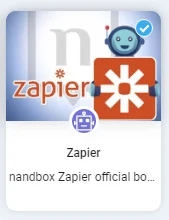
9.) Select the Zapier bot and click Insert.
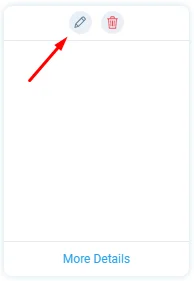
10.) Hover over the bot and click the ‘Edit’ button.
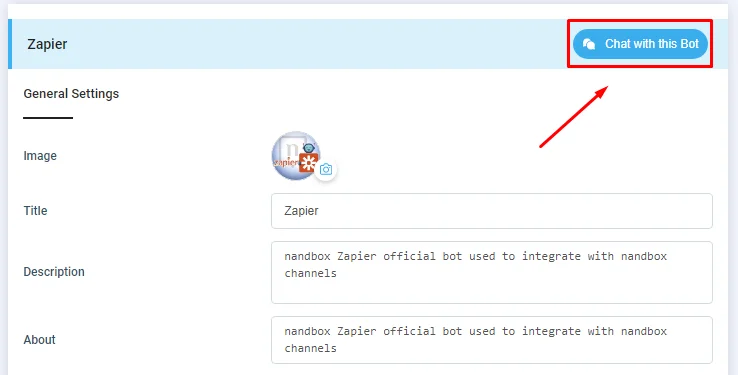
11.) Click ‘Chat With Bot’
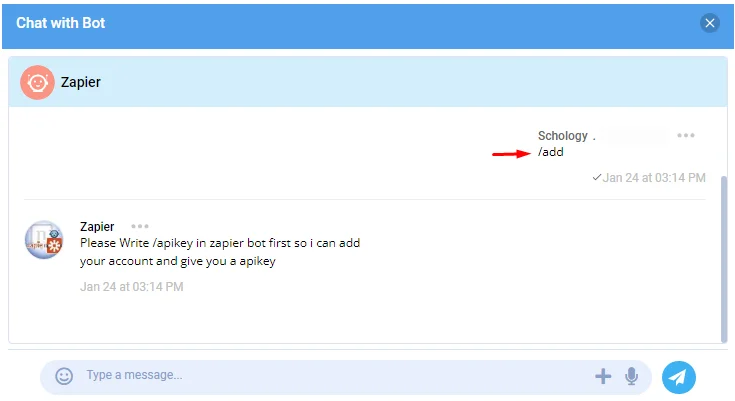
12.) Next, you need to make the Zapier bot an admin in your app, type /add in the chatbox.
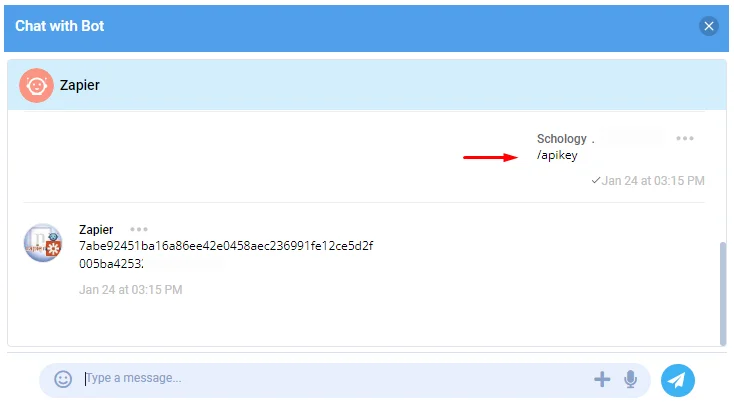
13.) Next, Type /apikey in the chatbox and click Send. Then copy the API key.
14.) Now paste the key and click Continue.
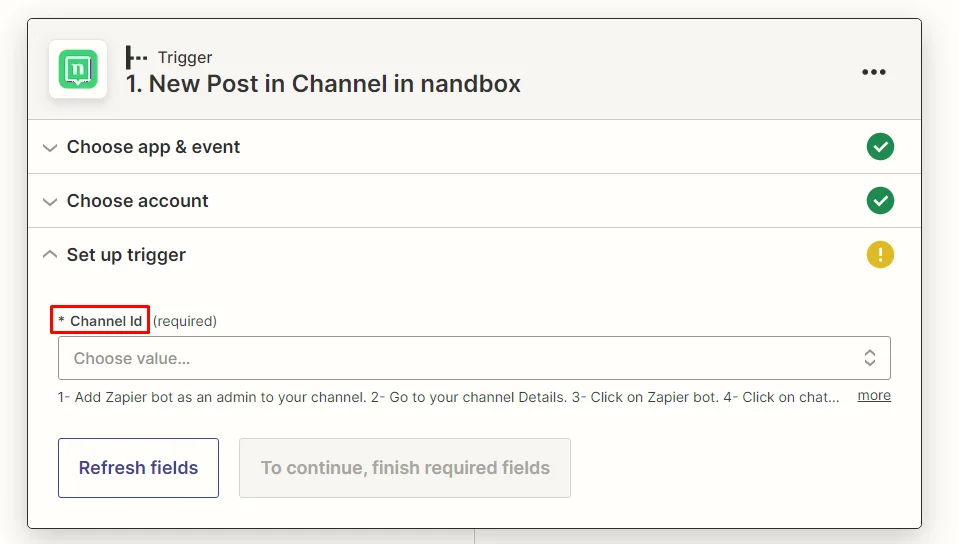
15.) Now go back to the Zapier website, you should find your channel in the trigger options, select it, and continue.
16.) Next, Zapier will ask you to test the trigger. Make sure that you already have a post published on your channel to insert it for testing and Zapier will detect it.
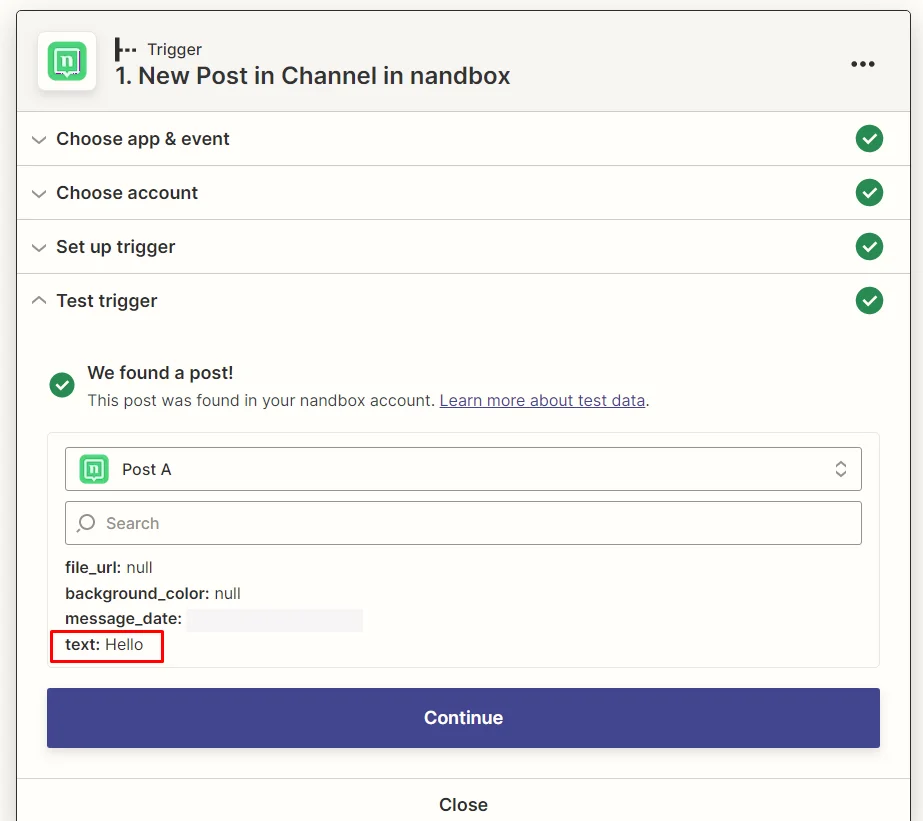
17.) If yes, you’re ready to click Publish Zap and turn it on.

18.) Next, you can choose different actions from multiple apps.
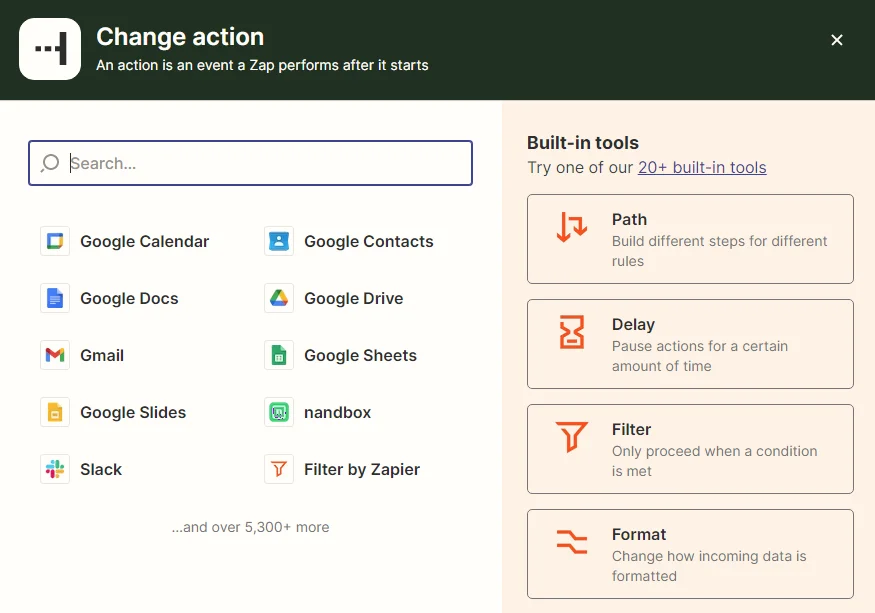
19.) Select your app, and select the action within the app.
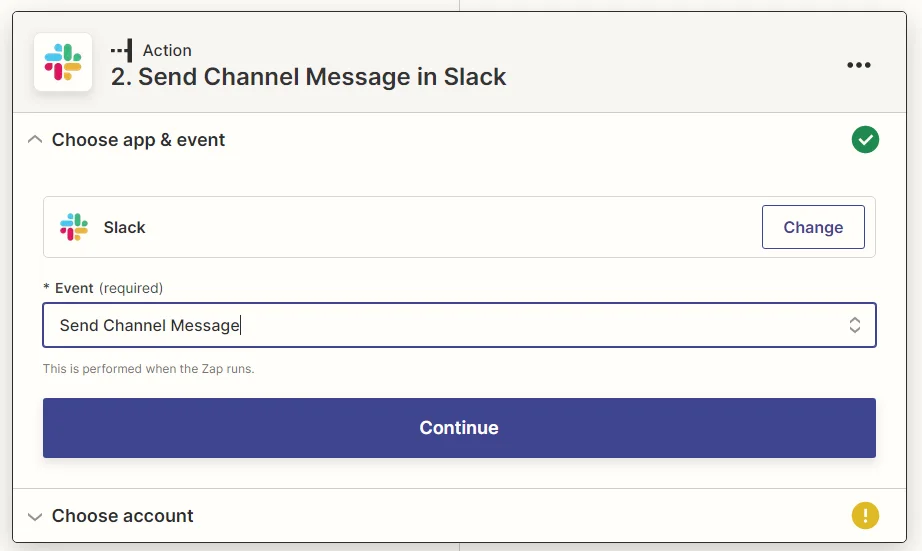
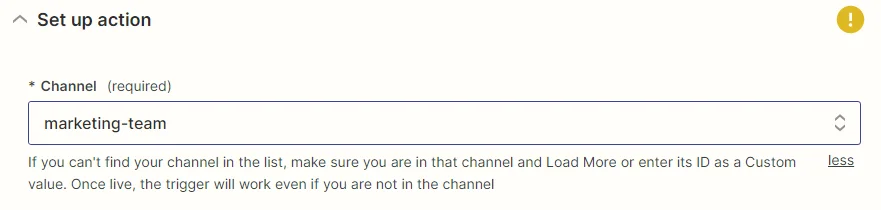
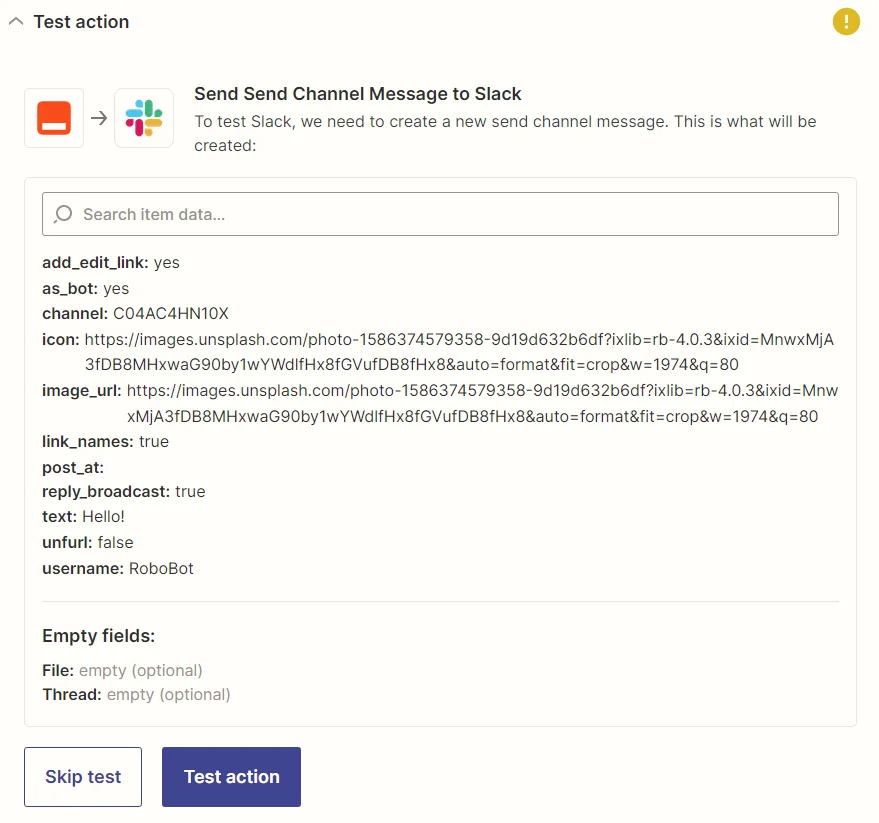
20.) Set up the action, you have the option to include thirteen sets of data:
– Channel: Choose a specific channel and make sure you are in it.
– Message Text: You can also manually include text in the message.

– Send as a bot: Send direct messages as bot.

– Bot Name: Choose a name for your bot.

– Include a link to this Zap: Zap link will be attached in your messages.

– Attach Image by URL: Insert a URL of an image to be attached in your message.

– Auto-Expand Links: Your app will automatically enlarge links sent.

– Link Usernames and Channel Names: For specifying certain channels and users to be linked.

– Schedule At: Set a date and time for a specific post to be uploaded.

– File: Insert file by URL to be attached to your message.

Check out this Zapier article as it includes more information regards Scheduling and File inserting process.
– Thread: If you want your action to be part of a thread.

– Broadcast To Channel: Depends if your message is a part of a thread or not.

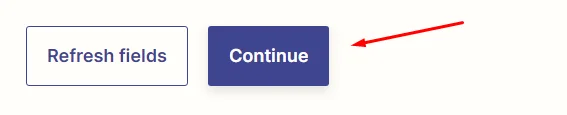
22.) Click continue.
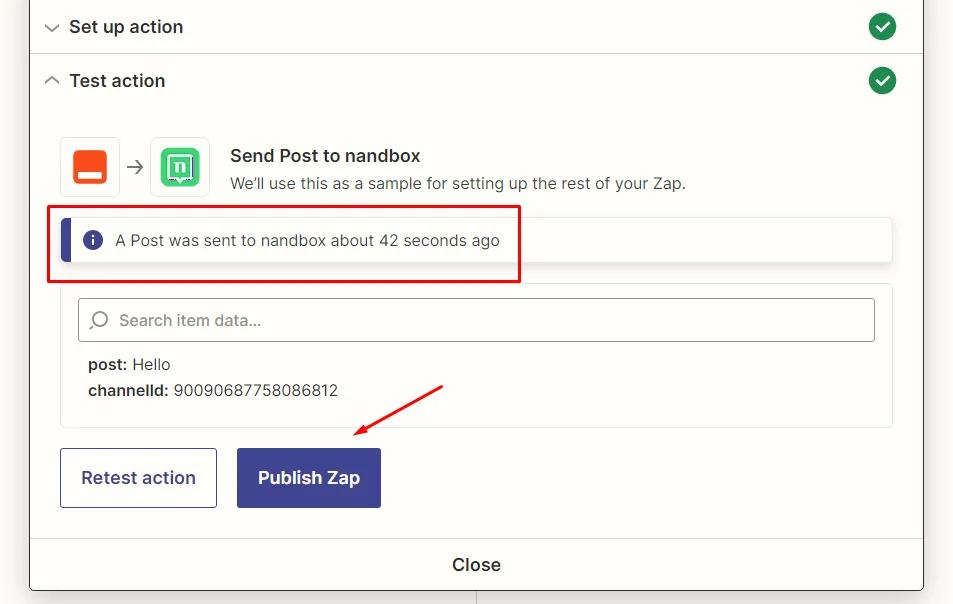
23.) Test your action.
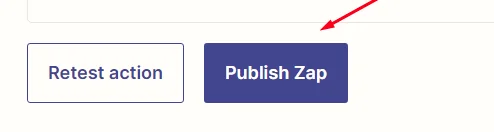
24.) Finally, click Publish Zap, now your nandbox integration with Zapier is completed!
Moreover, you can also set any app as the trigger and nandbox app as the action which is another form of nandbox messenger integration with Zapier!
Setting up nandbox as the action:
1.) Set the trigger from the different apps available on Zapier.
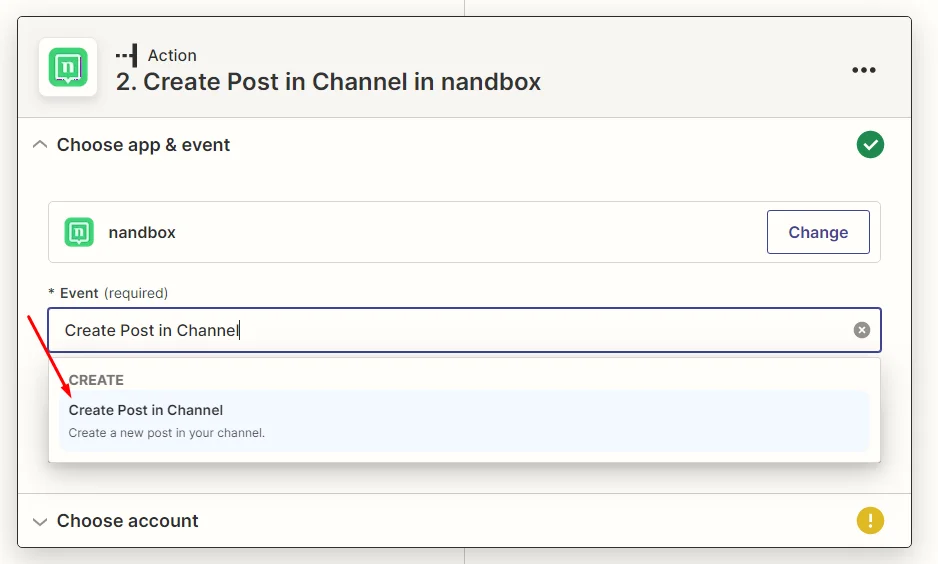
2.) In the action section, search for nandbox messenger.
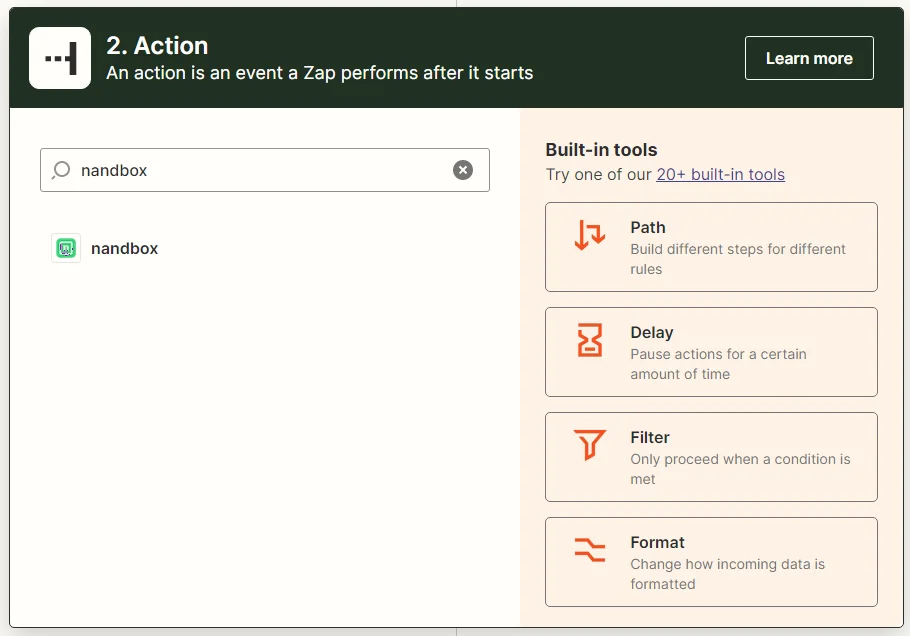
3.) Choose to create a post in a channel.
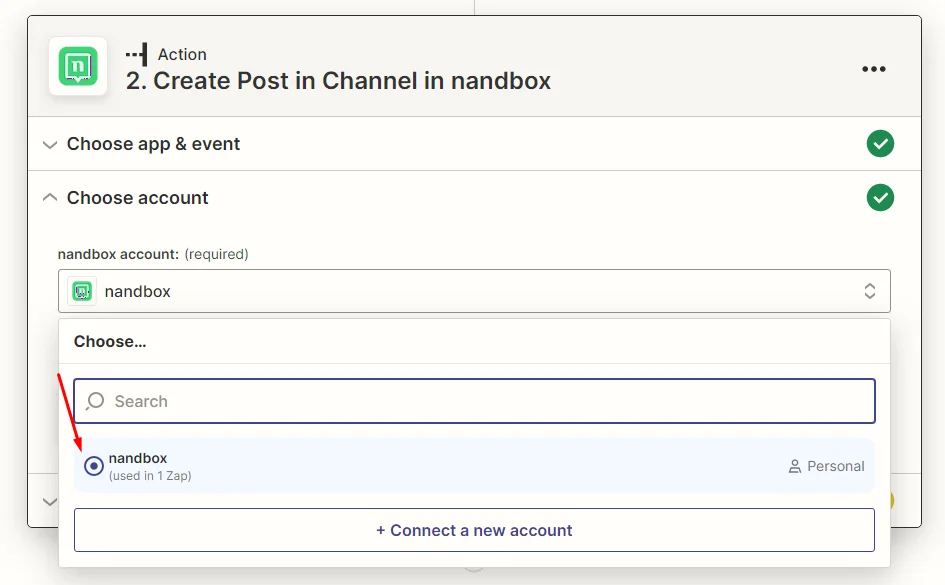
4.) Choose your nandbox account.
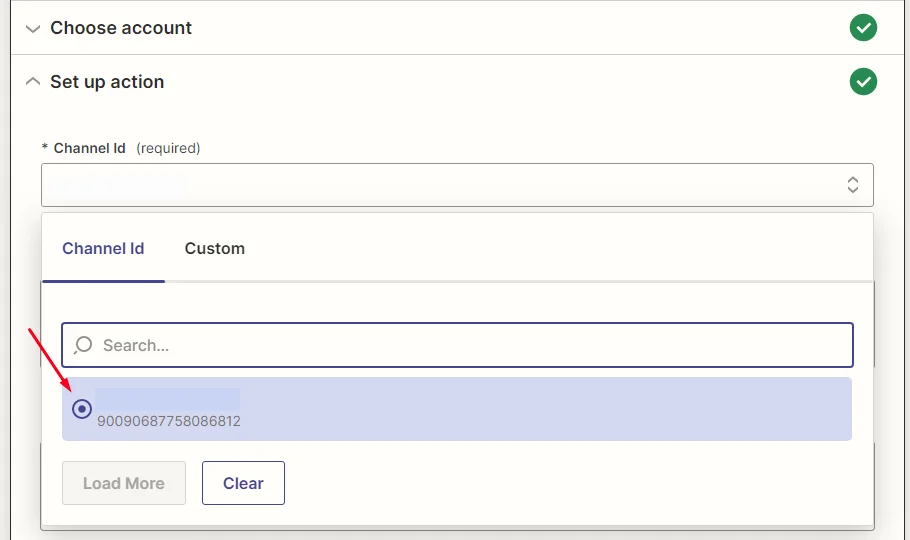
5.) Select your nandbox channel.
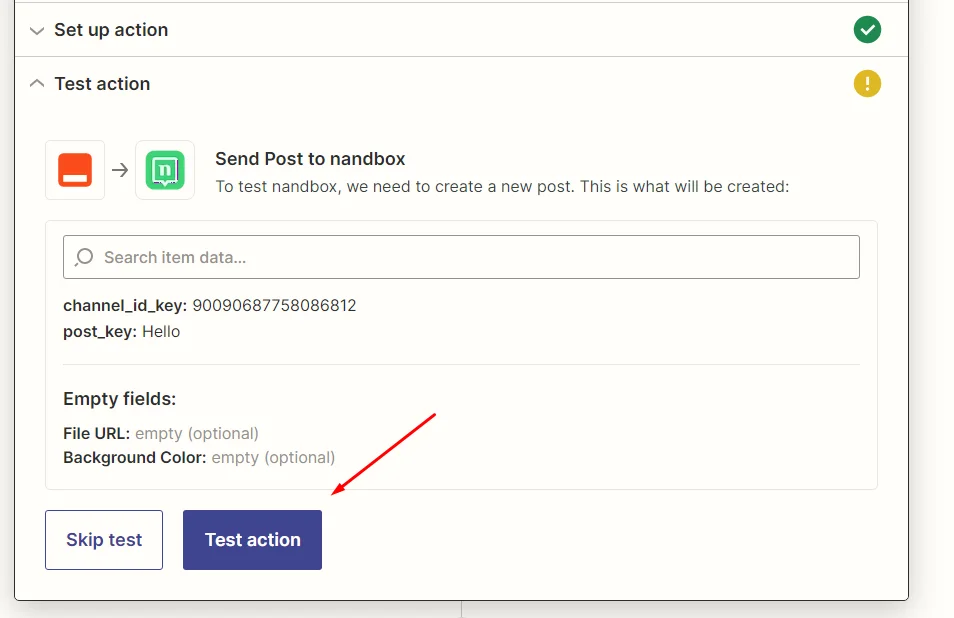
6.) Set up the action.

7.) Click Test action.
8.) Lastly, click Publish Zap and then turn it on!