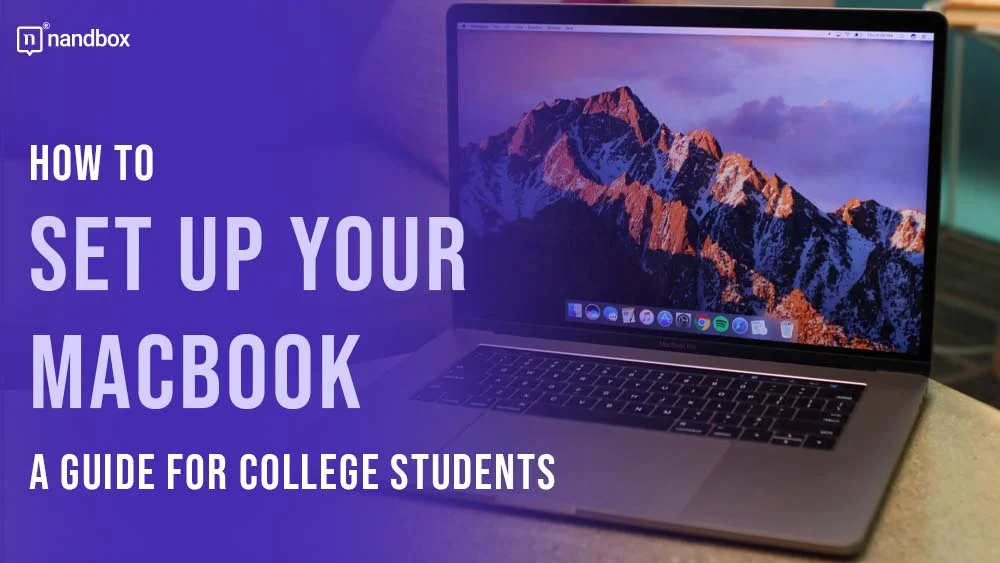
College Students’ Ultimate MacBook Setup Manual
MacOS or Windows is a timeless debate that often comes into play when you’re picking out a laptop for school. However, the discussion today isn’t about which system is superior; it’s a well-known fact that Apple devices are excellent learning assistants. But a lot of students aren’t fully aware of what Apple laptops can do. Let us tell you this: just a few tweaks can significantly improve your study experience and help you manage your digital world better. It might take some time to get everything set up just right. So how to set up your MacBook?
If busy school days are overwhelming, luckily, platforms like SaveMyGrade reviews can handle some of your academic load, giving you an extra day or two to perfect your laptop setup. And believe us, taking some time to optimize your device will pay off with more efficient studying in the long run. Here are some tips on how to make that happen.
How to Set Up your MacBook?
Use Your iCloud Storage Wisely
Though it may be obvious, iCloud Drive isn’t just for keeping photos and videos. It can store anything, including your documents and presentations. Since many users tend not to organize their folders properly, a lot of documents usually wind up either on the Desktop or in the Documents folders. By default, these two folders aren’t synced with your iCloud. So, what you need to do is go to System Preferences > Apple ID, and turn on iCloud Drive if it’s not already active.
After that, select the checkbox labeled “Desktop & Documents Folders” in the iCloud options. This way, your files will be backed up automatically and will remain accessible from any device. Also, make sure to back up your entire system using Apple’s Time Machine. Set it to automatically create backup copies of your files and regularly upload them to your iCloud. This will protect your data from accidental loss. It even allows you to go back to earlier versions of your documents if something goes wrong and you need to review previous drafts of your work.
Install Essential Apps in Advance
You shouldn’t have any problems with installing your apps, but you might need to spend some time adjusting and setting up accounts for them. A set of essential software should be installed even before the course is started because you don’t want to scramble login details or troubleshoot issues when you’re under the pressure of deadlines.
Even though, let’s say, PowerPoint writing services are always available, you’d still better have the entire Microsoft Office suite running smoothly on your device just in case. Fully functional and bug-free Word, Excel, and PowerPoint mean that you’re prepared for any kind of academic task that comes your way.
So, set aside some time to establish and organize your app accounts. Also, make sure that each app is ready to go whenever you need it. Think about what apps you actually need, particularly those that operate on a subscription basis. Paying for your Notion or Microsoft Office 365 subscriptions upfront can help you avoid any service disruptions when you need these tools the most during your studies.
Make Your MacBook Secure
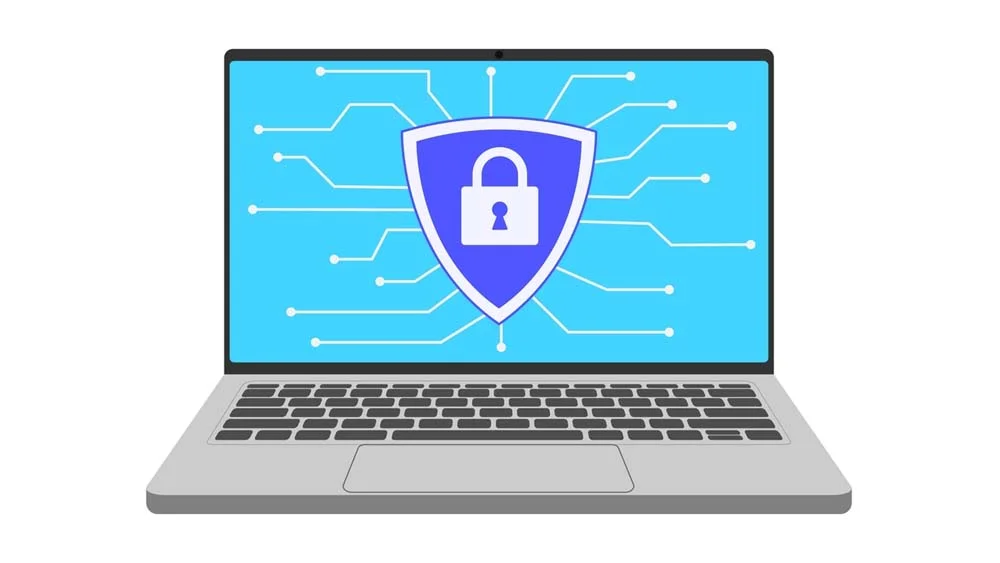
Being cautious about suspicious downloads or clicking weird links on the Internet is always a good thing. But there’s also another type of protection you should consider, especially if you’re taking your laptop to public places like libraries. By that, we mean protection from prying eyes. Whether it’s someone trying to browse your laptop on campus when you step away to get coffee or a nosy roommate, it’s important to keep your information secure from others.
So, first and foremost, set your MacBook to require a password or fingerprint immediately after waking from sleep. While it’s really convenient to just swipe the touchpad and start working, you shouldn’t make it that easy for anyone snooping around, either.
Secondly, make sure to turn off Automatic Logon. It’s certainly convenient as well, but you don’t want to allow anyone who has physical access to your MacBook to immediately access your files, applications, and personal data without a password. And lastly, activate the Find My Mac feature in your settings. It will greatly help you locate your MacBook if it gets lost or stolen, and you can remotely lock it if needed. Though we hope it never gets stolen, always be prepared: better safe than sorry!
Customize Your Laptop
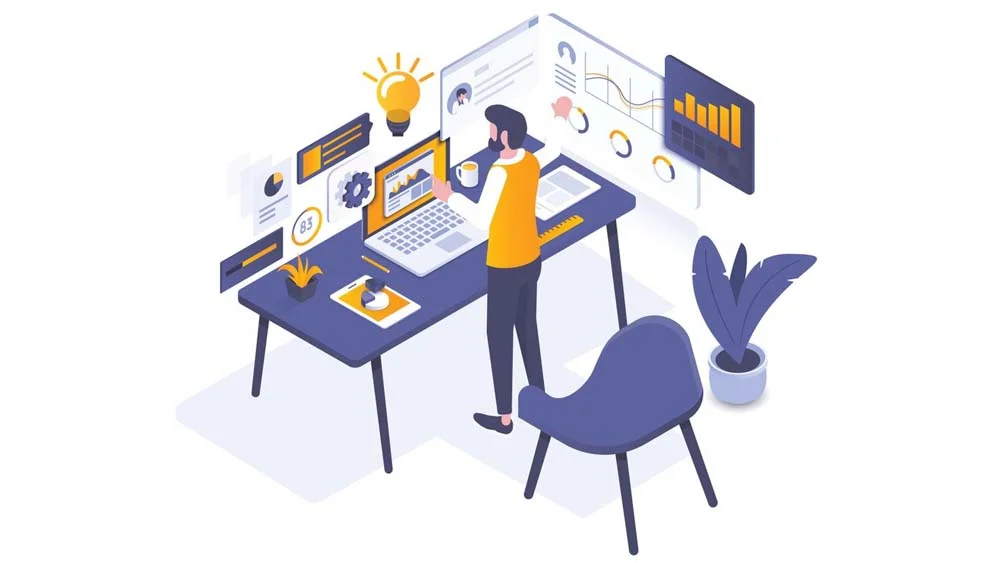
Even though MacOS is not as customizable as Windows is, you can still do a lot of cool things with it to make your studies more fun and easy. Personalize your desktop with wallpapers that motivate or relax you. Maybe it’s not that relaxing, but you can also set your screensaver to display things that you need to remember for the next class.
Customize how you navigate between apps and desktops with Apple’s Mission Control. You can set up different desktops for different types of tasks, let’s say, one for study and another for personal projects. If your MacBook comes with a Touch Bar, you can add quick actions like accessing a dictionary and other educational tools or media buttons, for example, if you like listening to music while studying. And let’s not forget about keyboard shortcuts ‒ you can customize them as well. This is what makes using your laptop much faster, especially when you’re typing or multitasking. If you don’t like the standard shortcuts, set your own ones. They will save you a lot of time during long study sessions.
Conclusion
In this article we spoke about how to set up your MacBook. Ultimately, it all comes down to how exactly you use your gadgets. Even something as small as an iPhone can be a powerful tool for academic work. And laptops, especially quick ones like MacBooks, are definitely game changers for students today. You just need to know what they’re truly capable of.
Heading off to college is exactly when students often have to fully manage their setup for the first time. But as you can see, there’s nothing too hard in a bit of planning and smart setup before classes start.
We hope you found our tips helpful and discovered some new ways to optimize your devices. So, don’t let your gadgets distract you too much and keep aiming for those top grades!