We all have that one idea for an app that simply “should exist.” But what actually happens between that sudden “Aha!” moment and seeing your very own icon glowing on the screen? Transitioning from an everyday user into a creator is the thrilling first step of iPhone app development. Every daily swipe is the result of a hidden blueprint, and learning to build those blueprints unlocks incredible potential for your career and creativity.
Transforming your concept into a functioning product requires the right workspace. In the world of mobile app development, you construct your project inside an IDE, or Integrated Development Environment. Think of an IDE as a fully equipped digital workshop—it acts as your desk, your code editor, and your interactive preview screen wrapped into one single program.
Apple’s official guidelines show their marketplace thrives because it functions like a highly curated retail store. Successful iOS app creation isn’t just about making things work; it’s about meeting a quality standard where Apple acts as the meticulous store manager. Mastering this carefully guarded ecosystem transforms your app from a workshop draft to a published reality.
Summary
This guide walks you from idea to App Store launch: designing with Apple’s Human Interface Guidelines, setting up a Mac and Xcode, and using Swift (with SwiftUI) to build intuitive interfaces. It compares traditional coding to native no-code options and explains why native performance often beats hybrid approaches. You’ll learn how to budget across design, development, and testing, account for ongoing costs, and use TestFlight for beta testing. Finally, it covers preparing App Store metadata, passing Apple’s review, and following a simple 30-day roadmap to ship your first version.
Mapping the Blueprint: How to Design an App That Follows Apple’s “Golden Rules”
Every great building starts with a blueprint, and apps are no different. When planning your iPhone app design, focus first on the “thumb zone”—the screen’s lower half where a user’s hand naturally rests. This layout forms your UI (User Interface, what people see) and UX (User Experience, how it feels to tap and swipe). To keep your mobile app design intuitive, prioritize only your most important features to avoid overwhelming users with “feature creep” in version 1.0.
Apple provides a master playbook for this exact process called the Human Interface Guidelines (HIG). Treating this document like your design bible ensures Apple Human Interface Guidelines compliance while naturally teaching you mobile app user experience best practices. The HIG stresses predictable layouts, suggesting every beginner app needs three essential UI elements:
- A clear header that tells users exactly where they are.
- Intuitive navigation tabs at the bottom for easy switching.
- A primary action button that is impossible to miss.
With your sketches successfully matching these golden rules, you are ready to bring those paper concepts to reality. Moving from static drawings to a functional application requires specialized tools to establish your digital workshop.
Setting Up Your Digital Workshop: Why You Need a Mac and Xcode to Build for iOS
Transitioning from paper blueprints means stepping into a digital workshop. To begin iPhone coding, your only physical requirement is a Mac computer—even a standard laptop from recent years has enough power. With your hardware ready, your focus shifts to setting up Xcode environment tools. Xcode is Apple’s free software hub; think of it as a combined drafting table, testing simulator, and toolbox containing the SDK (Software Development Kit), a vast library of pre-built buttons and menus you can easily grab and place.
Downloading this software to practice building is completely free. However, sharing your creation with the world introduces different rules. To officially distribute your finished project to the public, you must satisfy the Apple Developer Program requirements. This paid yearly membership acts as your retail license, giving Apple the legal green light to review your application and eventually put it on their digital shelves for millions to download.
Having the right equipment on your desk is just the foundation. To make your new digital workshop function, you must clearly communicate your specific design ideas to the device.
Speaking “iPhone”: How Swift Turns Simple Instructions into Smooth Animations
Every time your phone vibrates or a menu slides across the screen, it follows a specific recipe. Apple’s programming language, Swift, is the modern recipe book for iPhone coding. A quick Swift vs Objective-C comparison highlights why creators love it: the older language felt like translating a complicated dialect, whereas Swift uses readable, plain English words to instruct the device safely and quickly.
The grammar rules of this system, known as syntax, are incredibly straightforward. You combine basic commands to trigger physical reactions, like a gentle buzz—a haptic—when a user taps a “buy” button. Developers structure these daily recipes using foundational instructions:
- print: Tells the app to display a hidden message (tell me something).
- if/else: Creates a logical crossroad based on user actions (make a decision).
- func: Groups several steps together into a single, repeatable command (do a task).
Grasping these instructions is only half the battle; you also need to design the visual screens. Today, developers naturally choose SwiftUI vs UIKit for modern apps because the newer framework requires far less typing to build beautiful buttons and sliders. While learning this language is rewarding, mastering it isn’t the only way to launch an application. If writing recipes from scratch feels overwhelming, efficient no-code alternatives exist.
Native No-Code vs. Traditional Coding: Choosing Your Path
Writing Swift code isn’t the only way to bring your idea to life. Imagine designing a house by snapping prefabricated rooms together instead of mixing cement by hand. This intuitive visual approach drives modern software creation. By using a platform like the nandbox native no-code app builder, you can drag pre-built features—like messaging modules or calendars—directly onto a screen. It effectively eliminates the steep coding learning curve, letting you focus entirely on designing a great user experience.
The unseen foundation of these visual tools matters immensely for your app’s performance. When comparing hybrid vs. native no-code app builders, think of the difference between a fluent local speaker and a tourist reading from a translation dictionary. Hybrid apps essentially load a formatted website inside an app shell, which often feels slightly sluggish to users. True native architecture, however, communicates directly with the iPhone’s hardware, ensuring animations glide smoothly and buttons react instantly.
Choosing your ideal path ultimately depends on your project’s timeline and goals. If you are inventing a complex new video game, traditional coding remains essential. Conversely, if your goal is launching a reliable retail or community platform quickly, native no-code app builders offer a massive, high-quality shortcut. Trading months of programming for weeks of visual designing naturally changes your financial equations and development budget.
The Real Cost of an iPhone App: Budgeting for Development
Deciding how to build your idea drastically shifts your financial expectations. If you choose outsourcing over an in-house team, geography plays a massive role in your baseline iPhone app development cost. For instance, contracting a premium agency for iPhone app development in Miami will require a different budget than hiring a team in Sydney, simply due to varying regional labor rates and operating expenses.
Regardless of where your team sits, creating software involves three distinct financial phases. A standard budget typically breaks down into the following categories:
- Design (30%): Crafting the visual blueprint and user experience.
- Development (50%): Writing the instructions that make the app function.
- Testing/Launch (20%): Making sure everything works seamlessly before release.
The financial journey rarely ends on launch day, as keeping your software healthy introduces ongoing maintenance costs. Creators often overlook hidden fees, like renting cloud server space for user data or paying Apple’s annual $99 developer charge. Outsourcing future updates means paying hourly rates every time iPhones get a new software update, which is why many startups prefer predictable in-house tools. Once your budget is secured and the initial build is complete, a crucial trial run ensures stability.
The Final Exam: How to Use TestFlight to Fix Bugs Before Apple Reviews Your Work
Holding your finished app in your hands is thrilling, but releasing it into the wild without a dress rehearsal is a risky move. Before facing Apple’s strict review team, developers use the TestFlight beta testing process to invite friends, family, or potential users to try the software on their own iPhones. This private trial period acts like a soft opening for a restaurant, allowing you to catch hidden bugs or confusing menus before the general public walks through the doors.
Once your beta testers help you polish the rough edges, your focus shifts to preparing the ultimate digital storefront display. People will judge your software by its cover, meaning you need compelling screenshots, a catchy description, and a clear icon—collectively known as metadata. This preparation phase is also the perfect time for optimizing iOS app performance, ensuring screens load quickly and buttons respond instantly, because Apple expects a seamless experience from every product on their shelves.
The final hurdle before the world can download your creation involves handing it over to Apple’s quality control team. When publishing an app to the App Store, human reviewers test your software to ensure it protects user privacy, functions perfectly, and provides genuine value. Passing this rigorous examination and securing their approval clears the path for your launch roadmap.
Your App Launch Roadmap: 3 Steps to Go Live and Start Growing
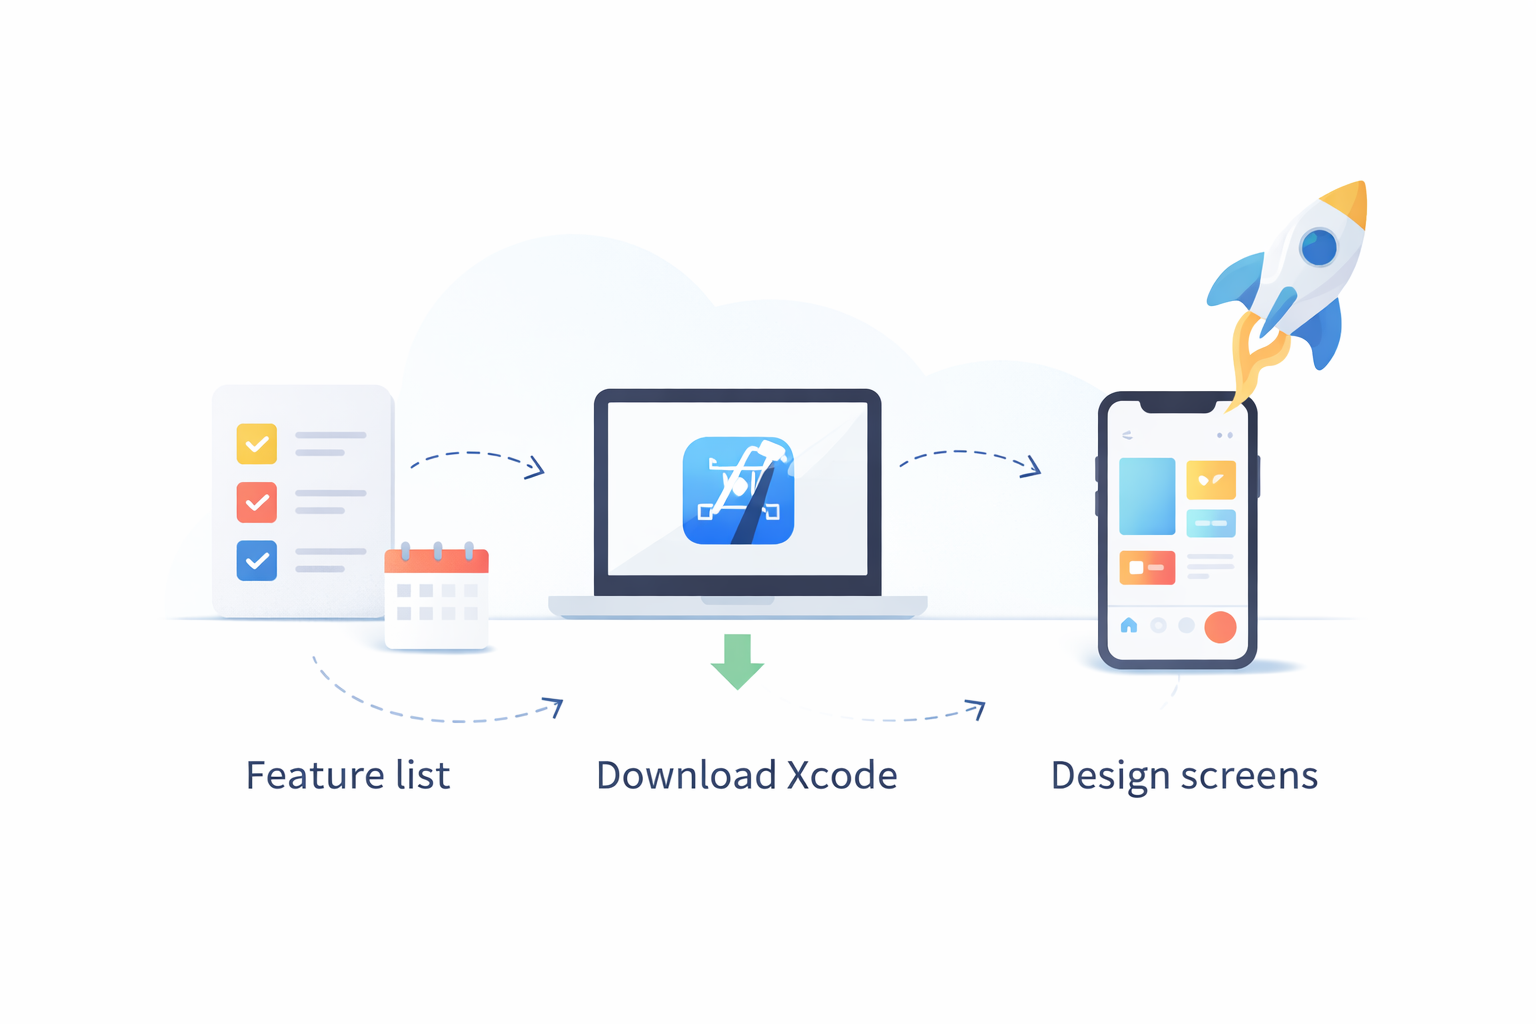
Taking an idea to reality is no longer a mystery. You now understand the Apple ecosystem well enough to shift from a learning mindset to an execution mindset. A successful launch is just the beginning of this journey, so set realistic expectations for ongoing post-launch updates and user feedback to continuously shape your software. To consolidate your new knowledge into a manageable 30-day iOS development roadmap for beginners, start with these actionable app development tips:
- Finalize your core feature list.
- Download Xcode or sign up for a visual builder like nandbox.
- Design your first three screens.
Creating an iOS app can feel daunting, but taking the first step builds real momentum. Rather than worrying about App Store dominance right away, focus on a more personal success metric: getting the app running on your own device. Seeing your custom project come to life in the palm of your hand is a huge win. With each new screen you design and test, you officially transition from a passive smartphone user into a confident digital creator.
Frequently Asked Questions
What do I need to start building an iPhone app?
You need a Mac and Apple’s free IDE, Xcode. Xcode is your all-in-one “digital workshop,” bundling the code editor, iPhone/iPad simulators, and the iOS SDK (pre-built UI components and system tools). You can learn and build locally for free. To distribute publicly on the App Store, you’ll need the paid Apple Developer Program membership (annual, commonly $99), which lets Apple review and list your app for download.
How should I design my app to align with Apple’s Human Interface Guidelines?
Start with the “thumb zone” and keep version 1.0 focused to avoid feature creep. Follow HIG’s predictable patterns and include three essentials:
- A clear header for context
- Bottom navigation tabs for easy switching
- A prominent primary action button This clarity and consistency improve usability and help you meet Apple’s quality bar.
Should I learn Swift or use a native no-code builder?
It depends on your goals and timeline. Swift is Apple’s modern, readable language; with SwiftUI (newer than UIKit) you write less code to get polished interfaces. If coding feels heavy, a native no-code platform like nandbox lets you drag-and-drop features to ship faster. For performance, native (coded or native no-code) generally feels smoother than hybrid approaches. Choose traditional coding for complex, custom apps (e.g., games) and native no-code for launching solid retail/community apps quickly.
What budget should I expect, including ongoing costs?
A typical split is:
- Design: 30%
- Development: 50%
- Testing/Launch: 20% Total cost varies by team location and whether you outsource (rates differ by region, e.g., Miami vs. Sydney). Plan for ongoing expenses: Apple’s annual developer fee, cloud/server costs, and maintenance for iOS updates. Outsourcing updates means hourly charges; in-house tools can make future changes more predictable.
How do I test and publish my app?
Run a private beta with TestFlight to gather real-user feedback and fix issues before review. Prepare compelling metadata (screenshots, description, icon) and optimize performance for fast, fluid interactions. Apple’s reviewers check privacy, functionality, and user value before approval. A simple 30-day starter plan:
- Finalize your core feature list
- Download Xcode or sign up for a native no-code builder like nandbox
- Design your first three screens Focus first on getting the app running on your own device to build momentum.