
Though, moving your online store to a new platform is always tricky. Many often struggle with the tech stuff and eventually lose their data. That’s why lots of entrepreneurs prefer hiring a trusted Shopify web agency to transfer their websites.
But don’t worry, that doesn’t mean you can’t do it manually! We’ll guide you through the process step-by-step to save every single piece of your data.
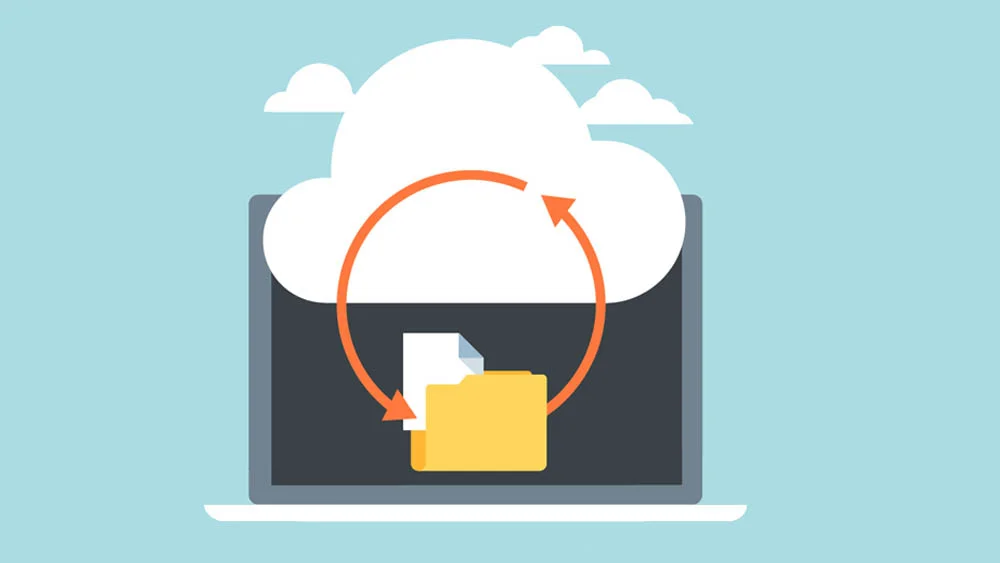
1. Back Up Your Website Data
Here’s the first rule: always do a backup before making any changes to your website. This way, if something goes wrong during the transition, you won’t lose your site and data.
So, start by backing up all your stuff, like product details, customer info, orders, reviews, blogs, and so on.
And once you’ve backed everything up, just export it. How you do this depends on what platform you’re using, but it’s usually just a couple of clicks:
- go to your platform’s dashboard, and find the “Export” button;
- export your store’s data into a CSV file.
Tip: start with products and customers; it’s usually the simplest.
2. Sign Up for Shopify
Now, you’ll need to create a Shopify account.
If you’re serious about using Shopify, we suggest getting a paid subscription right away. Most people are good with the Basic or Shopify plans, which start at $39 and $105 per month. If you run a bigger store, you think about the Advanced plan.
But if you’re still unsure, you can pick a 3-day free trial.
As you sign up, Shopify will ask you questions to help set up your account. They’ll ask if you’re moving an existing store to Shopify, and you can choose your previous platform.
Make sure to set up all your details, like staff accounts and billing info, while you’re at it.
3. Import Data to Shopify
Once your account is all set up, it’s time to import your data. You’ll have to do this for each type of content separately.
You can just copy and paste some things, like landing page content. Or you can use CSV files for things like customer info and products. Just note, you can’t transfer customer passwords this way.
Here’s how to import your data manually:
- Go to the admin panel;
- Click on “Products”;
- Then click “Import”;
- Select “Add file” and then upload CSV file with your product list;
- Move on by clicking “Upload and continue”;
- Look over your data and select “Import products.”
Then, do the same steps for customers, orders, and any other relevant information.
Bottom Line
Once you’ve done moving the data from your old website to Shopify, you can start getting your new store ready. Don’t forget to manage apps and plugins, set up redirects, and transfer your CRM or ERP system.
Feels complicated? DigitalSuits can help! Our Shopify website development agency has helped lots of businesses make the switch smoothly, making sure all your data stays safe. Get in touch, and let’s make your migration plan together!