What are in-app purchases?
In-app purchases are extra content or subscriptions that users can buy inside an app, which allows you to profit from your app by offering products or services that users can buy from inside your app, in this article we will show you how to enable Google in app purchase.
How can you enable Google in-app purchase in your app?
Firstly, you need to link your account to a Google Developer Project.
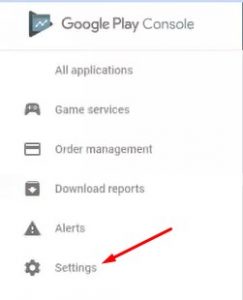
1. Go to Google Play Console, and click on the settings page.
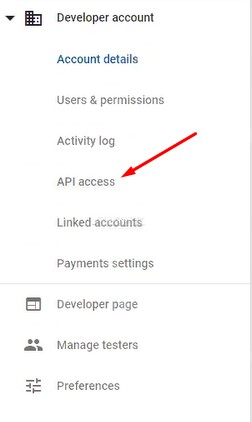
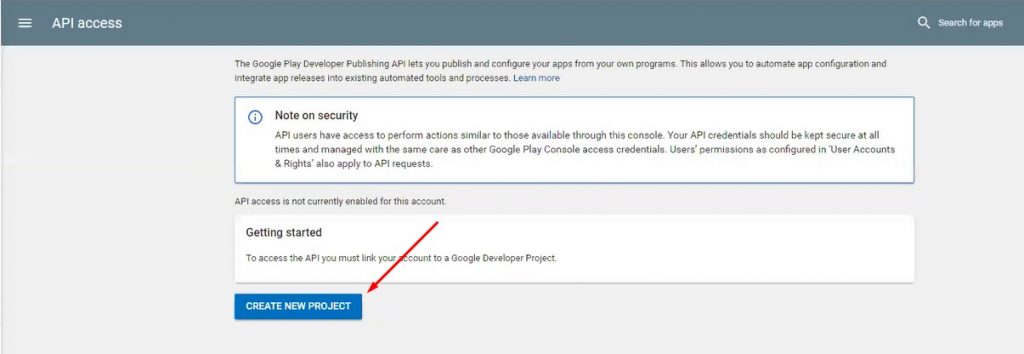
2. Open API Access tab.
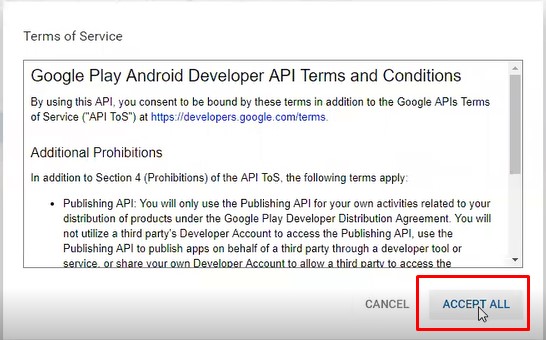
3. Accept the Terms of Service.
4. Click “Create New Project”.
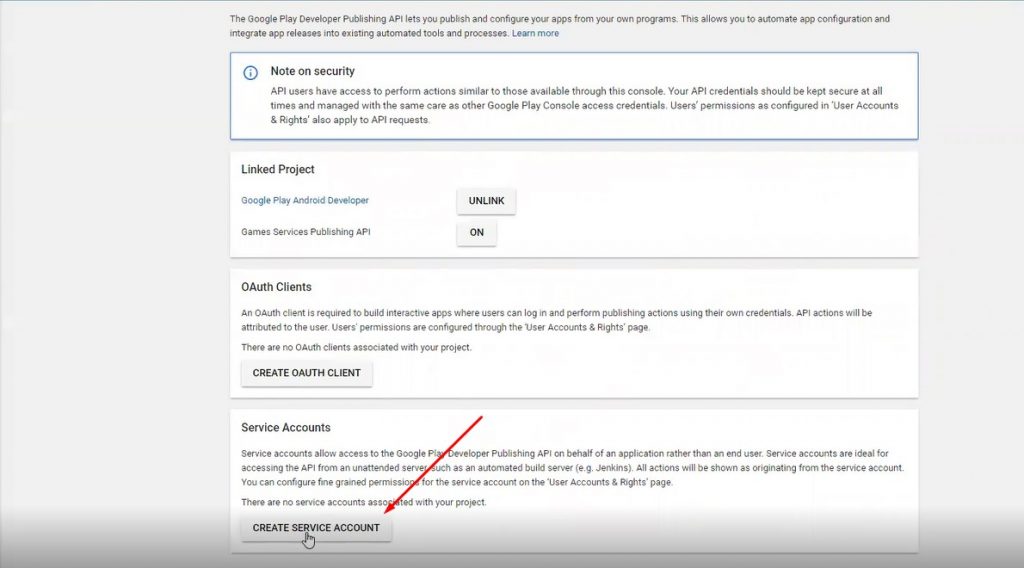
5. Click “Create Service Account”
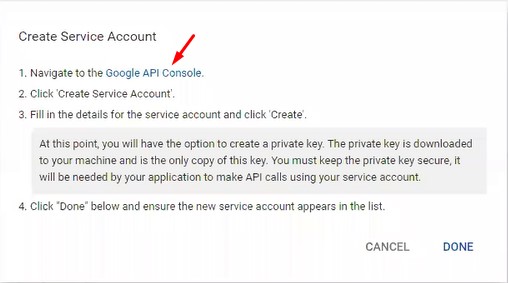
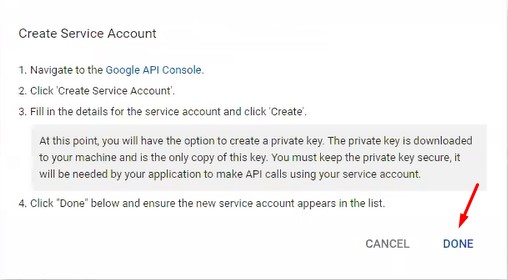
6. You will be prompted with the following screen, click on Google API Console.
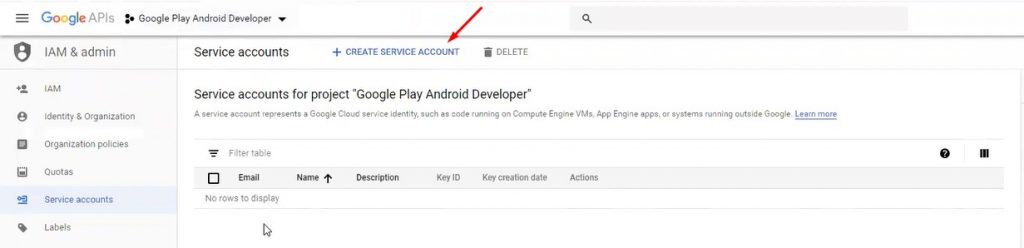
7. It will open the link in a new tab, you will be prompted with the following screen, click on “Create Service Account”.
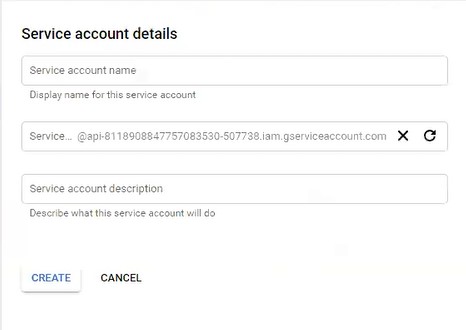
8. Enter the details of the new service account and click Create.
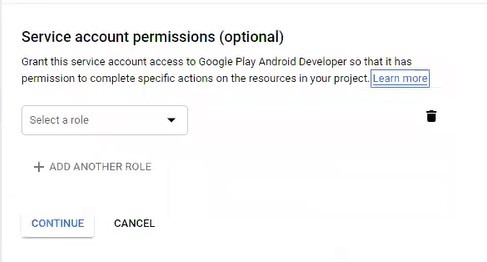
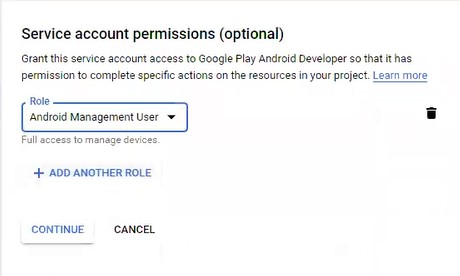
9. Next, grant this service account access to Google Play Android Developer so it has the permission to complete specific actions.
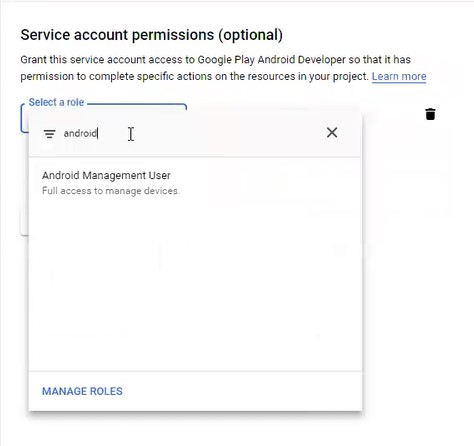
10. In the search box, type “Android”, and select “Android Management User”
11. Click Continue.
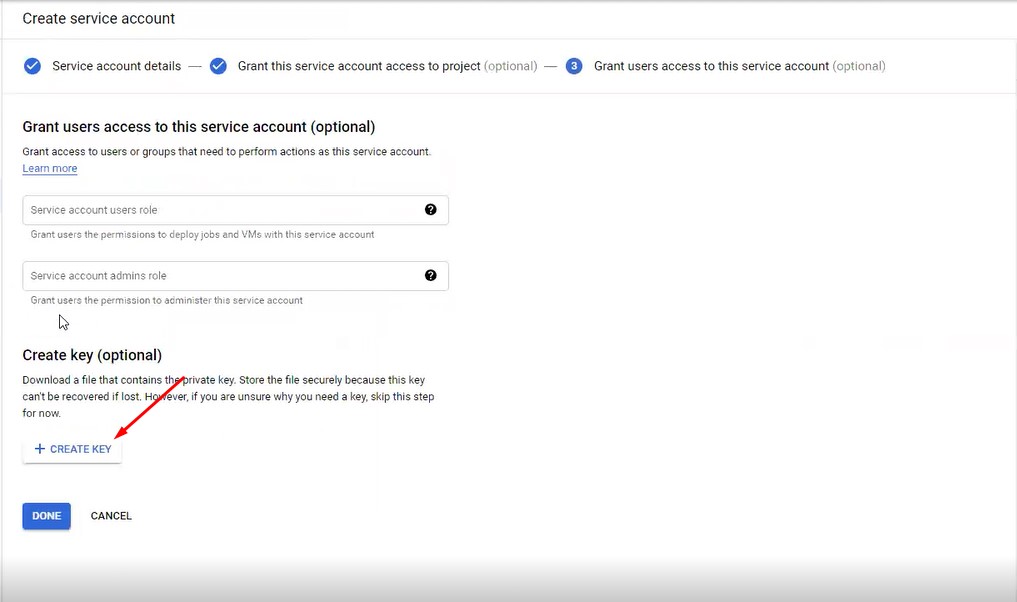
12. Next, click on Create Key.
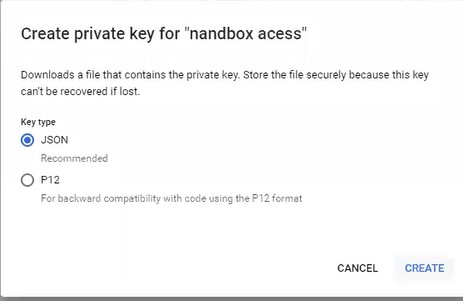
13. Download the file in the JSON format.
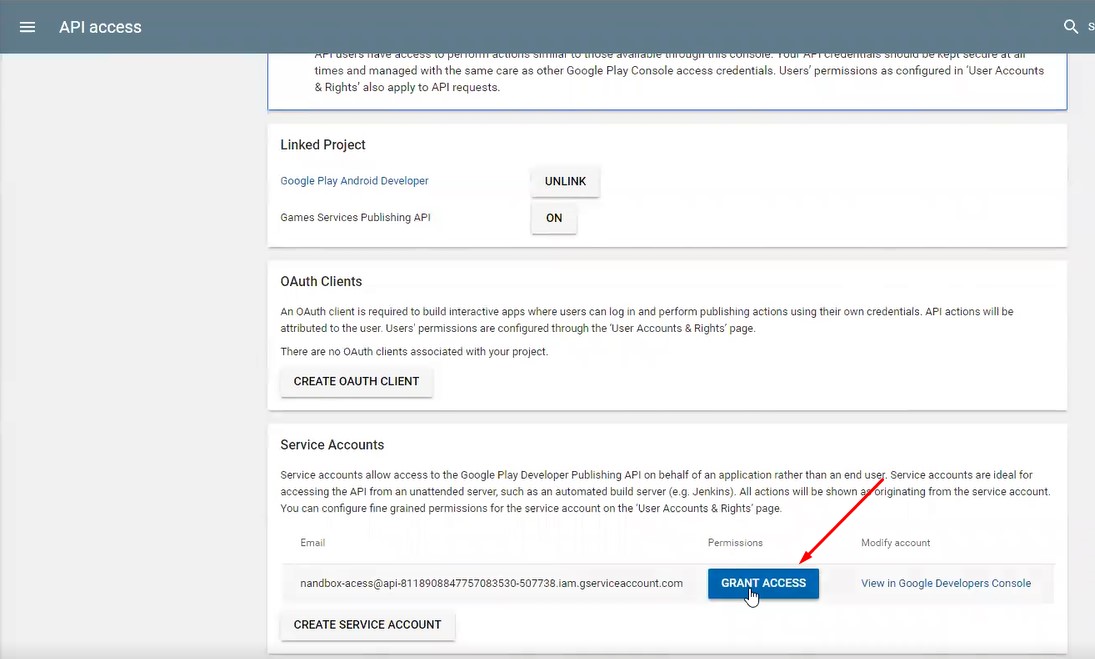
14. Next, go back to the Google Play Console page and click Done.
15. Click Grant Access.
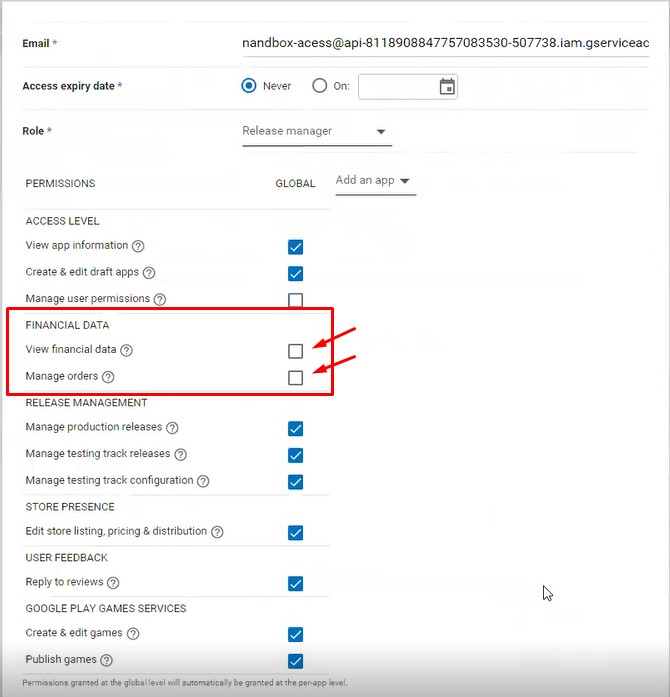
16. Make sure to check the two boxes of the “View Financial Data” and “Manage Orders” then click Add User.
17. Next, go back to nandbox app builder to upload the JSON file.
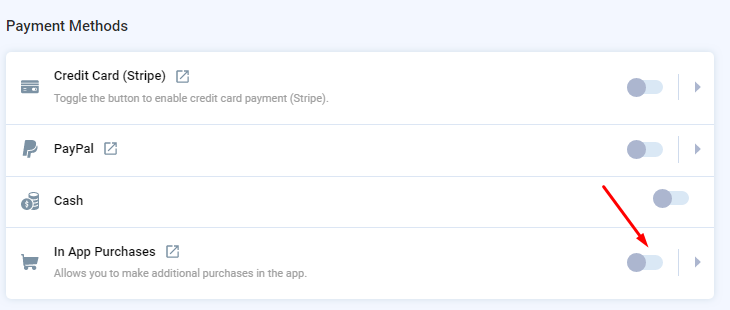
18. Go to App settings.

19. Enable the In-app purchase feature.
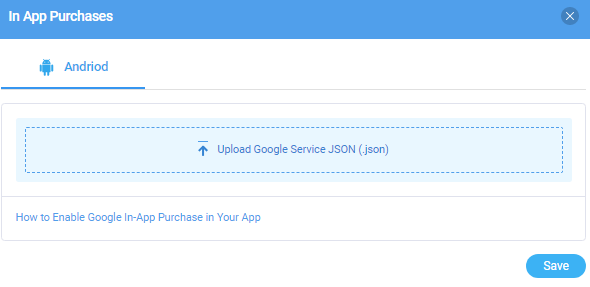
20. Click on it, and you will be prompted with the following screen, click on upload Google Service JSON file, select the JSON file and click save.
Secondly, you need to enable real-time developer notifications for your app.
Enable Real-time developer notifications for your app
To enable Real-time developer notifications for your app, do the following:
- Open the Google Play Console.
- Select your app.
- Go to Development tools > Services & API.
- Scroll to the Real-time developer notifications section at the bottom of the page.
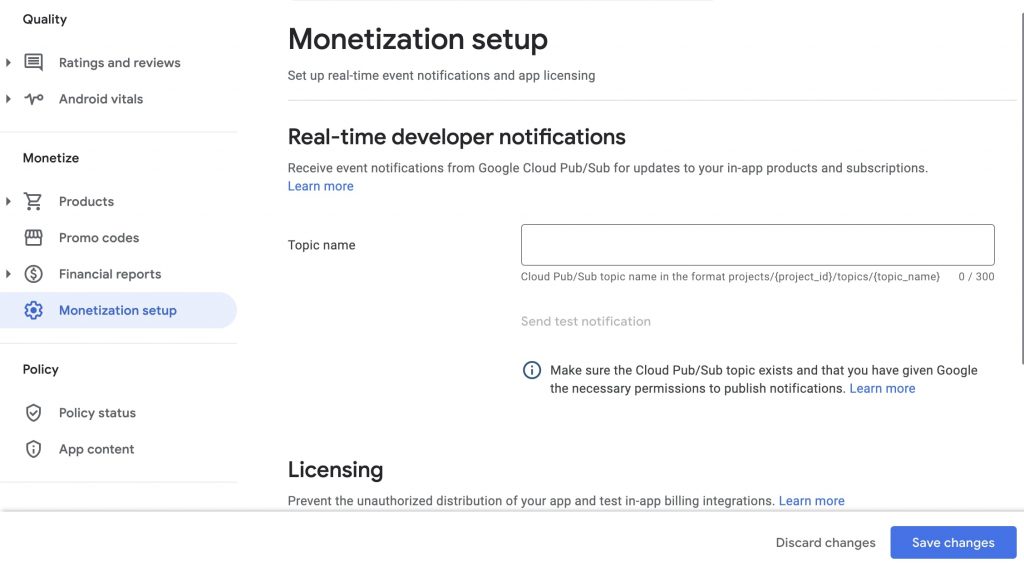
- In the Topic name field, enter projects/nandboxdev/topics/in-app-billling-prod
- Click Update Topic.
Configuration
After you enabled the in-app Google Purchase, you need to add subscriptions as products that users can purchase on your app, you can modify the pricing of the subscription and the duration period of the subscription.
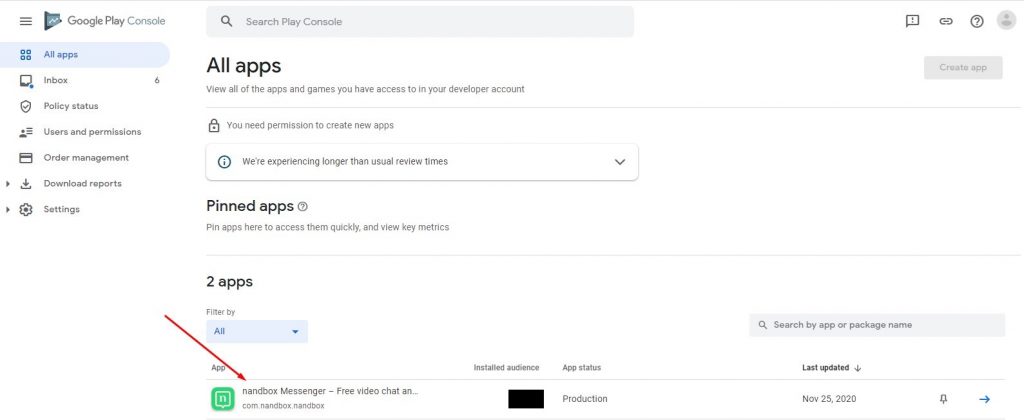
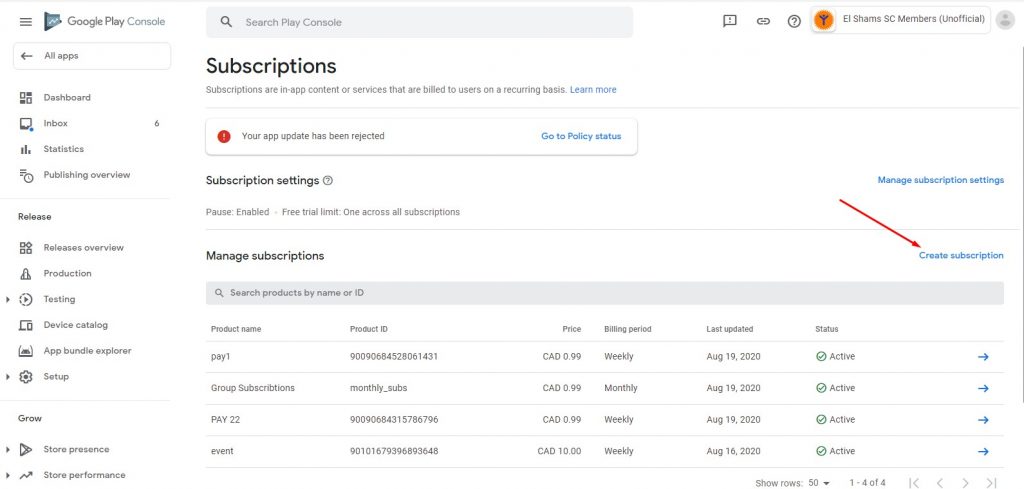
1. Go to Google Play Console, and select your app.
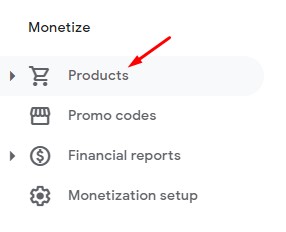
2.) From the left hand side menu, scroll down until you reach “Monetize” and click on Products.
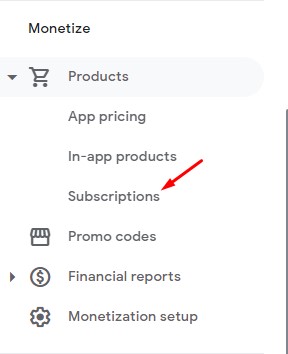
3.) Then click on Subscriptions.
4.) Click on Create subscription.
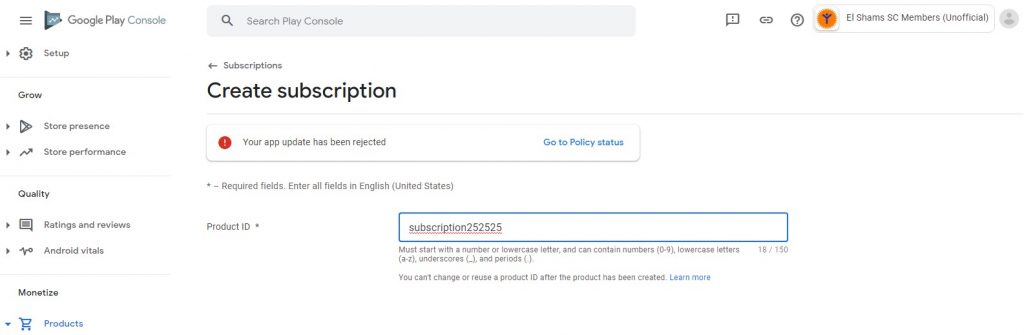
5.) Enter the Product ID, note that this product ID must be unique for each subscription that you create.
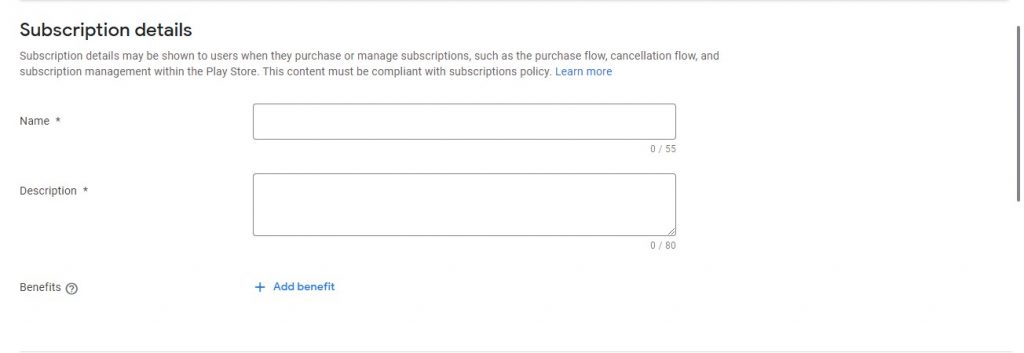
6.) Enter the subscription name and details, subscription details may be shown to users when they purchase or manage subscriptions.
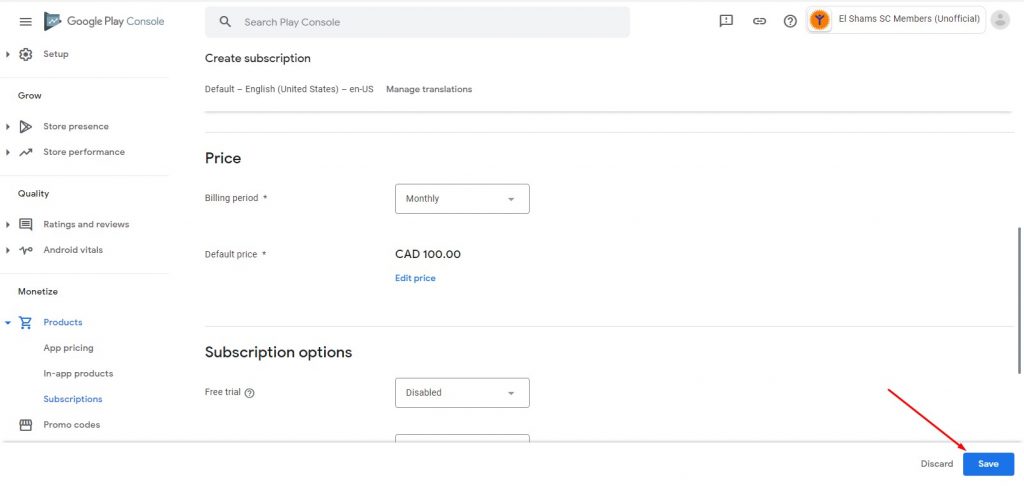
7.) Enter the billing period of the subscription.
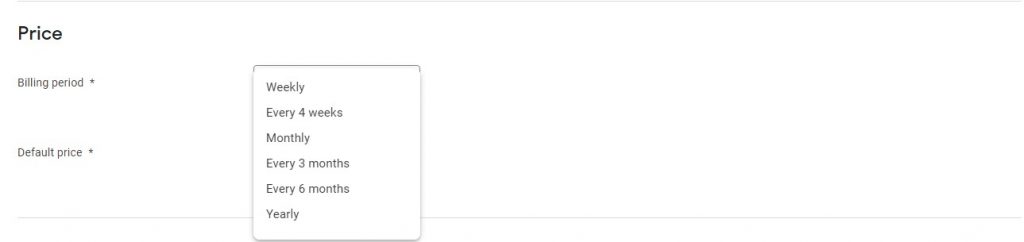
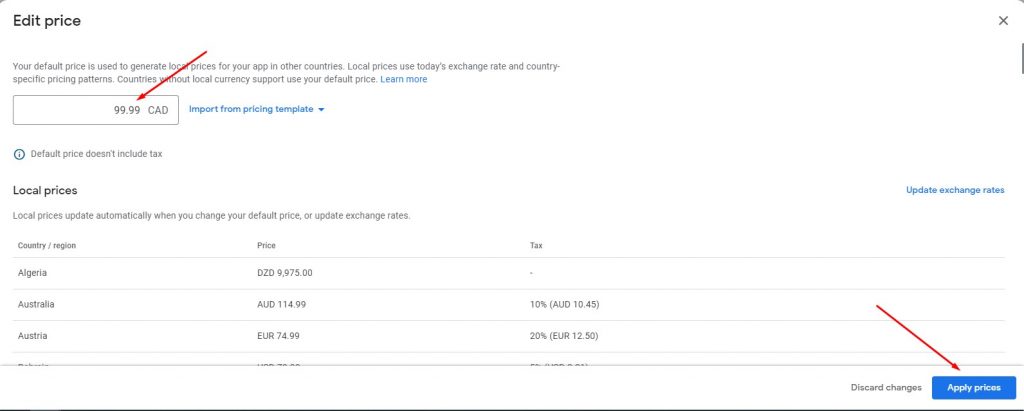
8.) Choose the pricing of the subscription and click Apply prices.
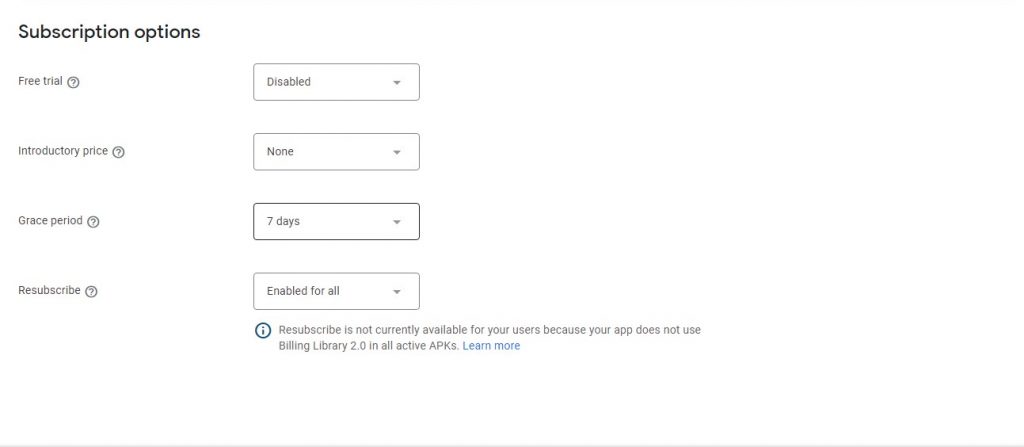
9.) Make sure that the first three options are disabled as we do not currently support these features yet, enable the Resubscribe option to give the option to users who cancelled to resubscribe once more.
10.) Finally, click save.
11.) Now open nandbox app builder.
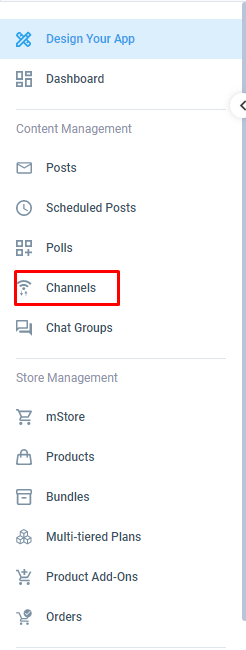
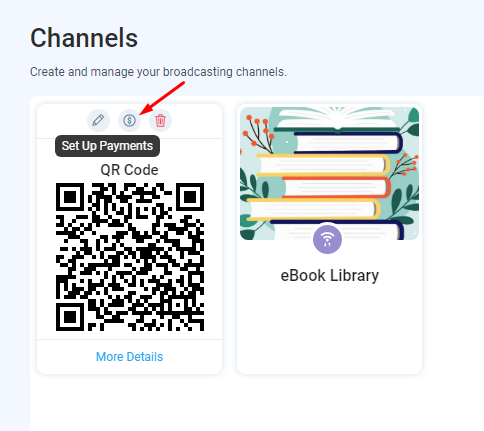
12.) From the admin menu, click on Channels.
13.) Hover over the channel that you would like to set up a subscription plan for and click on Set Up Payments.
14.) In the SKU section, enter the Product ID that you entered in the Google Play Console website, enter the remaining information as you specified them on Google Play Console, make sure that the price that you enter is the same as the price you specified on Google Play Console.
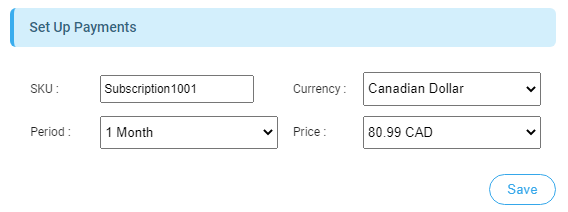
15.) Click Save.
Congrats! Your channel is now ready to be subscribed to.
Enabling Google In-App purchase in IOS coming soon!